Configure Source and Target -> Select Tables -> Configure Synchronization -> Onboard Data
This section explains how to onboard data from a RDBMS source, to the data lake by configuring the compute environment and base location.
Before initiating the onboarding process, you must ensure to define an Environment. For more information on how to define the Environment, see Managing Environments section.
The Infoworks onboarding process includes the following steps:
Configure Source and Target
After defining the compute environment, you can set up a RDBMS data source for ingestion, that includes configuring the connection URL, user credentials, and target location where you want to onboard the data.
To define the source and target, you must perform the following steps:
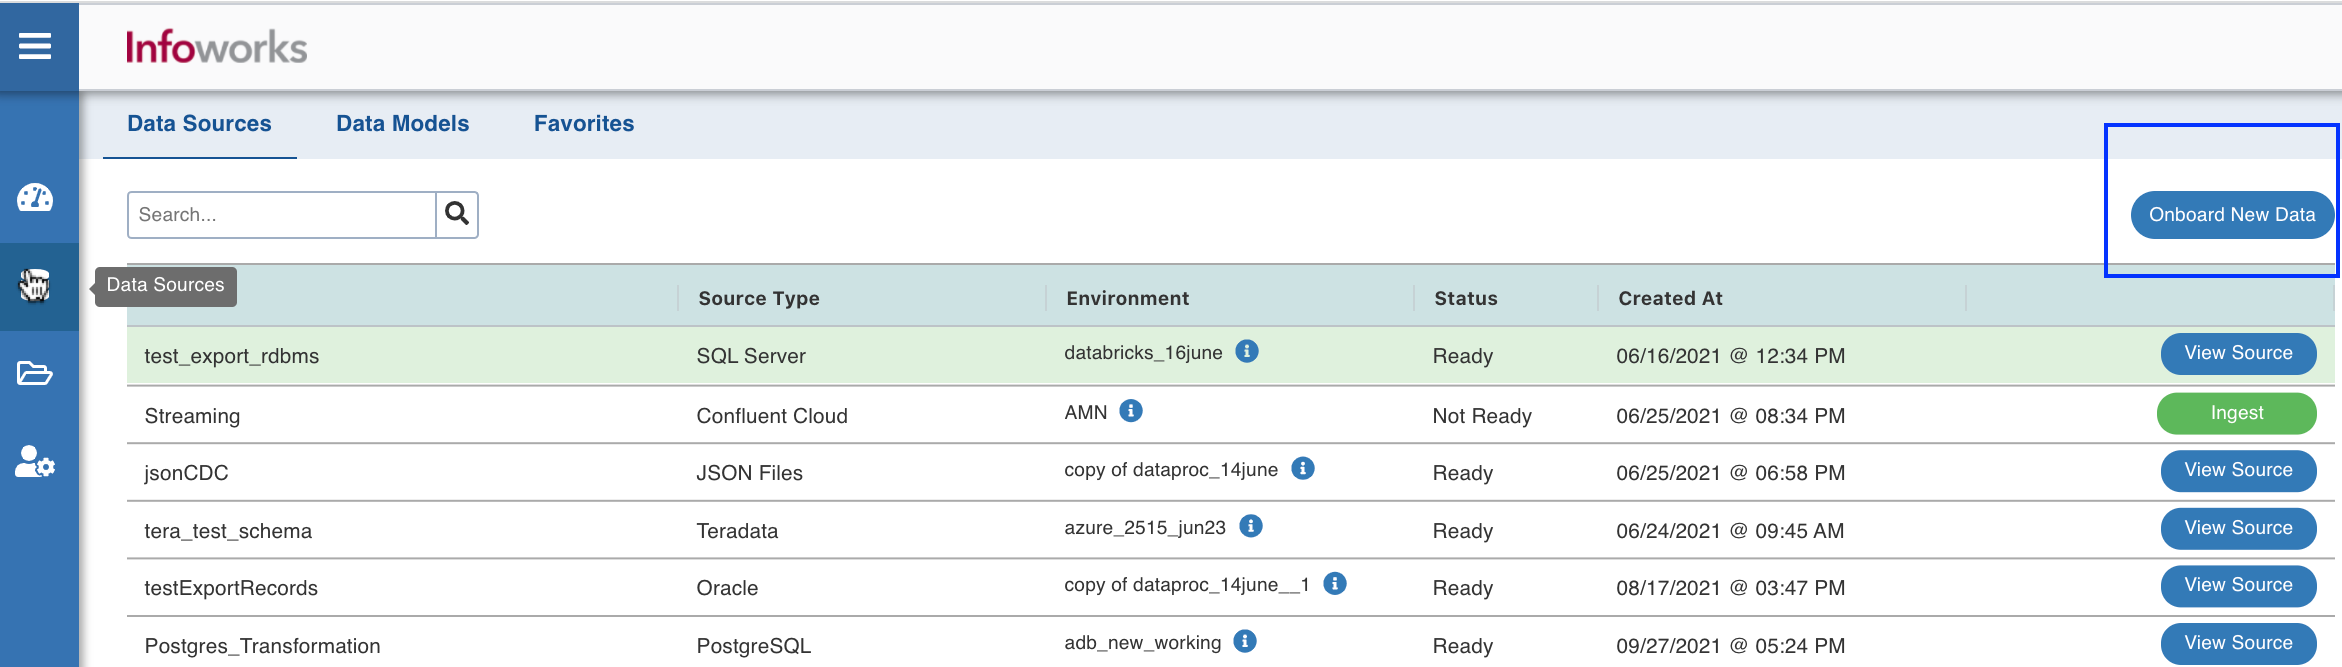
Select the Data Sources icon on the left navigation and click Onboard New Data.
Select the RDBMS Source in the Source Type, from the Categories list.
Now, you can configure the source connection properties and select the data environment where you want to onboard the data.
Configure the following fields:
Source Fields and Description | |
|---|---|
Source Field | Description |
Source Name | A name for the source that will appear in the Infoworks User Interface. The source name must be unique and must not contain space or special characters except underscore. For example, Customer_Details. |
Fetch Data Using | The mechanism through which Infoworks fetches data from the database. E.g. JDBC |
Connection URL | The connection URL through which Infoworks connects to the database. For details on connection URL, refer to the individual RDBMS source sections. |
Username | The username for the connection to the database. |
Authentication Type for Password | Select the authentication type from the dropdown. For example, Infoworks Managed or External Secret Store. If you select Infoworks Managed, then provide Authentication Password for Password. If you select External Secret Store, then select the Secret which contains the password. NOTE Only the secrets accessible to the user will be available in the drop-down list. |
Snowflake Warehouse | Snowflake warehouse name. Warehouse is pre-filled from the selected snowflake environment and this field is editable. NOTE This field appears only when the Data Environment is snowflake. |
Custom Tags | This dropdown provides the list of tags which you can choose. It can be used to identify/segregate the source based on the selected tags. |
Target Fields and Description | |
|---|---|
Target Field | Description |
Data Environment | Select the data environment from the drop-down list, where the data will be onboarded. NOTE Only the environments accessible to the user will be available in the drop-down list. |
Storage | Select from one of the storage options defined in the environment. NOTE This field becomes Temporary Storage when the Data Environment is snowflake. |
Base Location | The path to the base/target directory where all the data should be stored. |
Catalog Name | The catalog name of the target. NOTE This field will be available only to the Unity Catalog enabled data environments. |
Staging Catalog Name | The staging catalog name for temp tables. |
Staging Schema Name | The staging schema name for temp tables. NOTE Applicable only for Unity Catalog enabled environments on Azure Databricks |
Schema Name | The schema name of the target. NOTE This field becomes Snowflake Schema Name when the Data Environment is snowflake. |
Snowflake Database Name | The database name of the Snowflake target. NOTE This field appears only when the Data Environment is snowflake. |
Staging Schema Name | The name of the schema where all the temporary tables (like CDC, segment tables etc) managed by Infoworks will be created. Ensure that Infoworks has ALL permissions assigned for this schema. This is an optional field. If staging schema name is not provided, Infoworks uses the Target Schema provided. NOTE This field appears only when the Data Environment is Snowflake. Ensure either of the following: the target table names are unique across schemas or ensure that two tables with the same name do not run in parallel. |
Use staging schema for error tables | Click this checkbox to create history tables in the staging schema. NOTE This field appears only when the Data Environment is Snowflake. |
BigQuery Dataset Name | Dataset name of the BigQuery target. NOTE This field appears only when the Data Environment is BigQuery. |
Staging Dataset Name | The name of the dataset where all the temporary tables (like CDC, segment tables, and so on) managed by Infoworks will be created. Ensure that Infoworks has ALL permissions assigned for this dataset. This is an optional field. If staging dataset name is not provided, Infoworks uses the Target dataset provided. NOTE This field appears only when the Data Environment is BigQuery. |
Use staging dataset for error tables | Click this checkbox to create history tables in the staging dataset. NOTE This field appears only when the Data Environment is BigQuery. |
Make available in infoworks domains | Select the relevant domain from the dropdown list to make the source available in the selected domain. |
You may choose to click the Save and Test Connection button to save the settings and ensure that Infoworks is able to connect to the source system.
Click Next to proceed to the next step.
Select Tables
There are two ways in which tables can be selected, browsing the source to choose the tables and configuring a custom query.
Browse Source: You can browse the source to select the tables to be onboarded as per requirement. You can add more tables later.
Click Browse entire source or Filter tables to browse, and select the source tables you want to onboard the data.
Filter the tables by Source schema, Table Name, by entering multiple names separated by comma or by using a "%" as a wildcard.
Click the Browse Source button.
Select the tables from the list of tables displayed.
Click Crawl Metadata to proceed.
Click Next to proceed.
Add Query As Table: You can create a table using a custom query so that you can ingest a subset of the data from a table in the source or data belonging to more than one table in the source.
Click the Add Query As Table tab, and click Add Query As Table button. A pop-up window appears.
Enter the Query, Target Schema Name and Target Table Name in the relevant fields, and click Save.
If you want to add more tables, click on Add Query As Table and repeat step 2.
NOTES
Parameters can be added in Query As A Table, which can be passed or overriden during job execution. Define custom variable while writing the query in Query As A Table (e.g. $var1, $var2). You will have an option to add the default value to these variables which will be injected in the SQL query. Once the table is ingested, the parameter values can be edited from table configuration page, or overriden when ingesting a table group or while creating workflow.
Click the Edit button to edit the entered fields, and Preview button to preview the schema and sample data.
Click Next to start the metadata crawl.
Configure Synchronization
The tables are automatically set to Full refresh by default.
NOTE You can also set the tables to Incremental as per your needs.
To modify the configurations and synchronize the table that is onboarded:
Click the Configuration link for the desired table.
Enter the configuration details as mentioned under the individual sections of the source:
Adding a column to the table
After metadata crawl is complete, you have the flexibility to add a target column to the table.
Target Column refers to adding a target column if you need any special columns in the target table apart from what is present in that source.
You can select the datatype you want to give for the specific column
You can select either of the following transformation modes: Simple and Advanced
Simple Mode
In this mode, you must add a transformation function that has to be applied for that column. Target Column with no transformation function applied will have null values in the target.
Advanced Mode
In this mode, you can provide the Spark expression in this field. For more information, refer to Adding Transform Derivation.
NOTE When table is in ready state (already ingested), schema editing is disabled.
Onboard Data
The final step is to onboard the tables. You can also schedule the onboarding so that the tables are periodically synchronized.
Fields | Description |
|---|---|
Table Group Name | The name of the table group that is onboarded. |
Max. Parallel Tables | The maximum number of tables that can be crawled at a given instance. |
Max Connections to Source | The maximum number of source database connections allocated to this ingestion table group. |
Compute Cluster | The compute cluster that is spin up for each table. |
Overwrite Worker Count | The option to overwrite the minimum and maximum worker values configured in the compute template. |
Number of Worker Nodes | The number of nodes that can be spun up in the cluster. |
Snowflake Warehouse | Snowflake warehouse name. For example, TEST_WH. NOTE This field appears only when the Data Environment is snowflake. |
Onboard tables immediately | Select this check box to onboard the tables immediately. |
Onboard tables on a schedule | Select this check box to onboard the tables on a schedule at a later point in time. |
Click Onboard Data at the bottom right of the screen to onboard the data.
On the Success message pop-up, click View Data Catalog to onboard additional data or click on View Job Status to monitor the status of the onboarding job submitted.
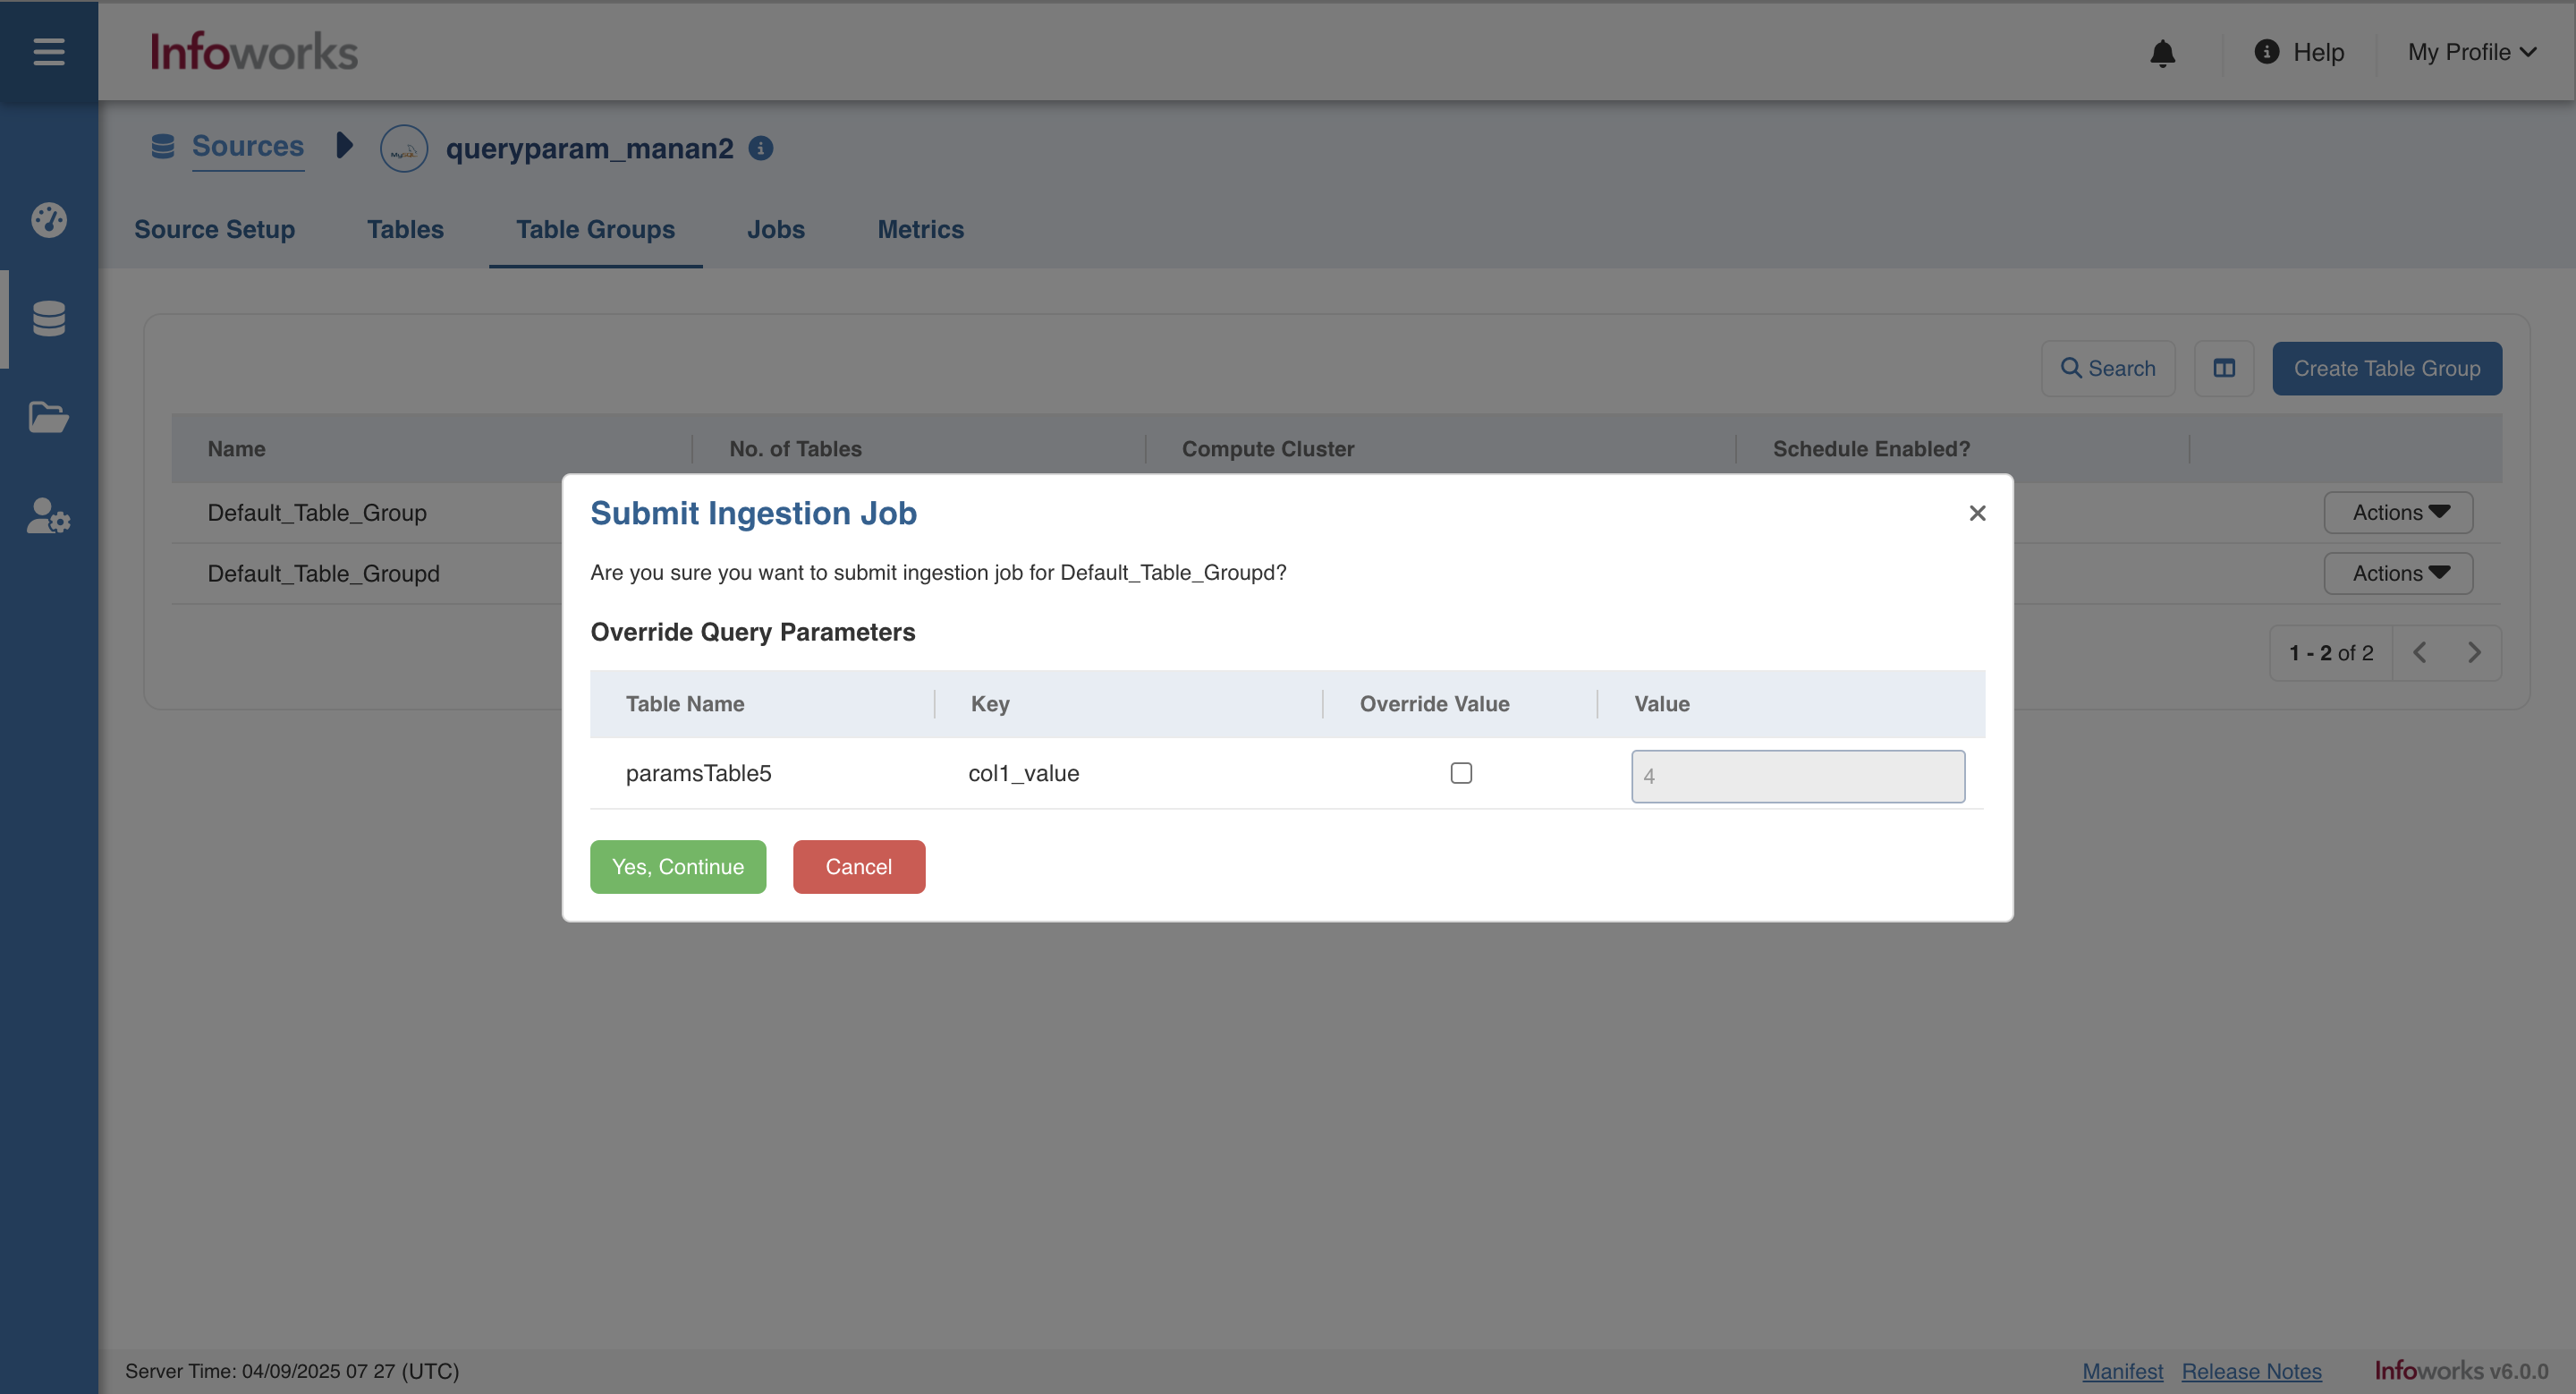
NOTE When ingesting a table group, all parameters in the Query Tables of that group will be displayed with an option to override them before ingestion.
Additional Options
Refer the sections below, if you want to configure additional parameters for the source.
Additional Connection Parameters
You can set additional connection parameters to the source as key-value pairs. These values will be used when connecting to the source database.
To add additional connection parameters:
Click Add and enter the Key and Value fields.
Select Encrypt Value to encrypt the value. For example, Password.
Select the Is Active check box if the parameter is to be set to Yes.
Click Save to save the configuration details. The parameters appear in the Additional Connection Parameters section.
You can edit or delete the parameters using the Edit or Delete icons.
Configuration Migration
For configuring a RDBMS source table, see Migrating Source Configurations
Optional: Source Extensions
To add a source extension to process the data before onboarding, see Adding Source Extension
Optional: Advanced Configuration
To set the Advanced Configurations at the source level, see Setting Source-Level Configurations.
Optional: Subscribers
You can notify the Subscribers for the ingestion jobs at the source level. To configure the list of subscribers, see Setting Ingestion Notification Services
Delete Source
Click Delete Source to delete the source configured.
Onboard Additional Tables
To onboard more tables from the same data source, follow these steps.
Navigate to the already configured data source.
Click the Onboard More Tables button.
Select the tables and provide necessary details.
NOTE Calculating the upper watermark has been optimized. By default the query used MAX() function but can be changed by setting the configurration use_default_ub_query to false at table/source level which uses GREATEST() function.