
Overview
Pipelines can be grouped together in a Pipeline Group to run as a single job in Infoworks. Pipelines built in a pipeline group use a single connection and run as one transaction.
From the pipeline group, you can configure the following:
Data environment
Pipeline group name, description
Environment details
Pipelines(including pipeline version) to be included in the group
Execution order of pipelines added to the group
Even if one pipeline job fails, it would result in rollback of already executed pipelines in the respective group.
NOTE Pipeline group can also be built via Rest API.
Pipeline Group Creation
To create a new pipeline group:
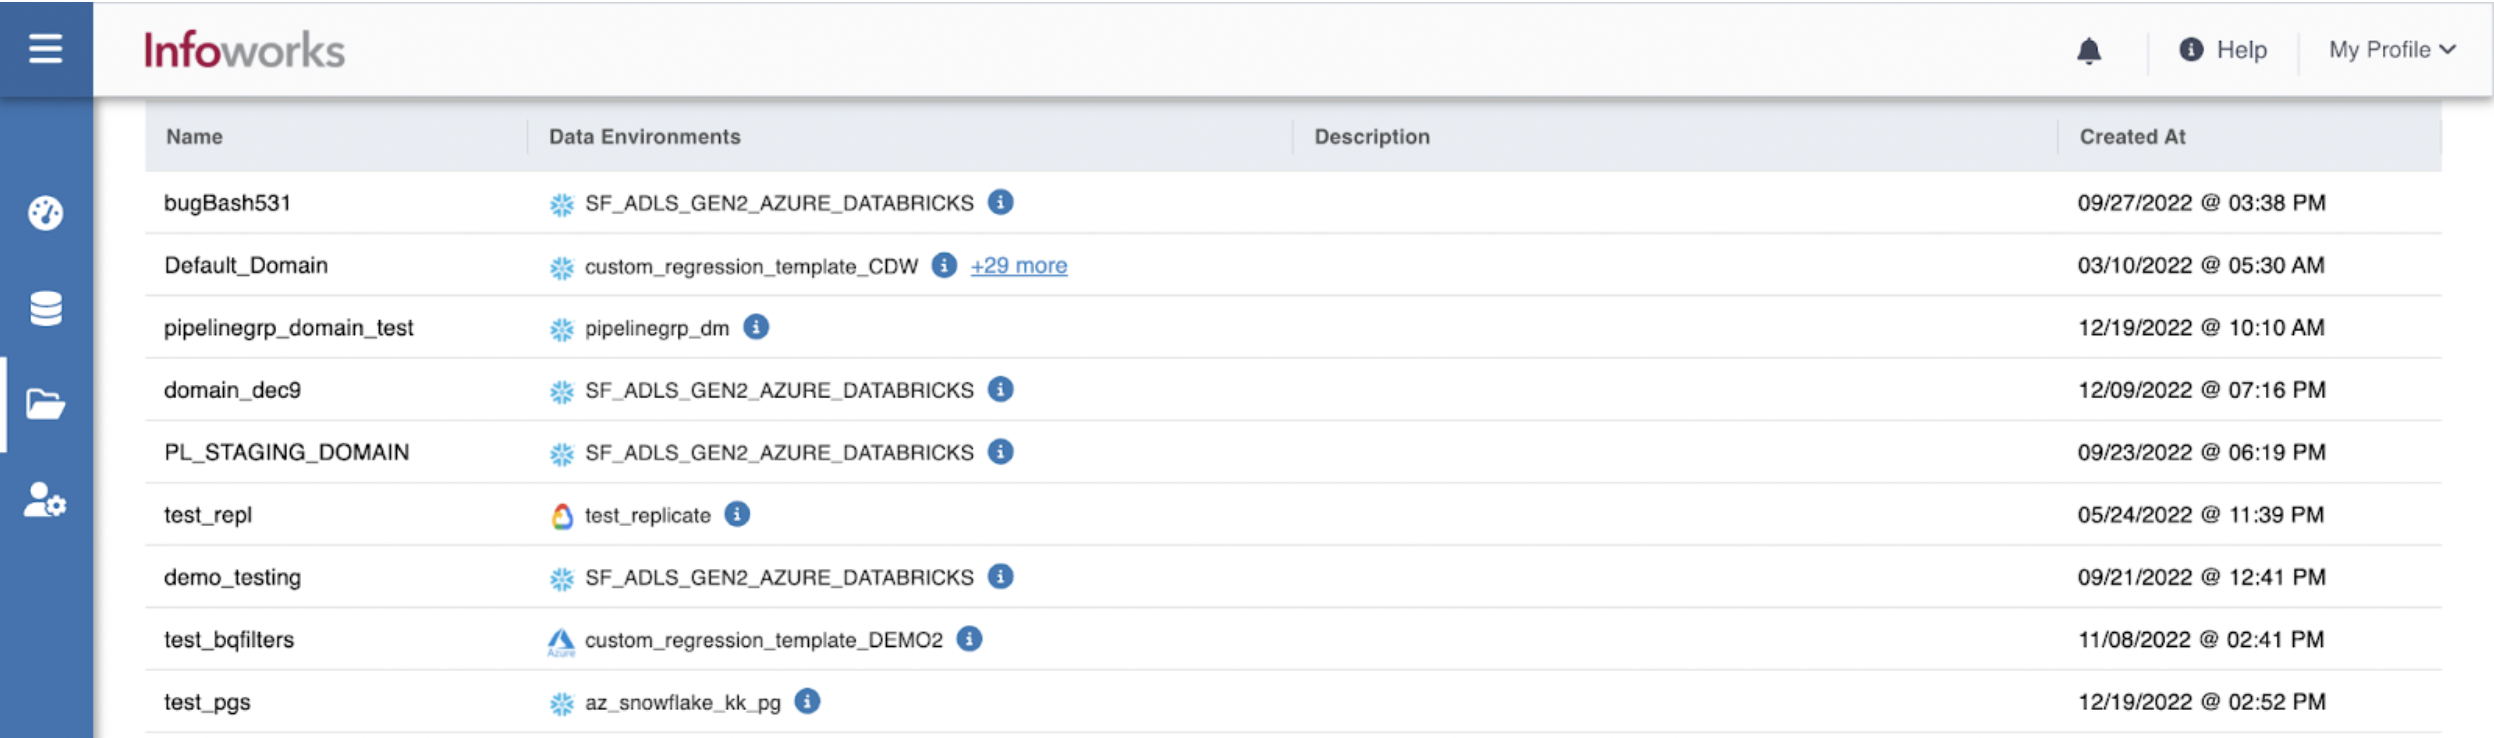
Step 1: Go to Domains and select the specific domain.
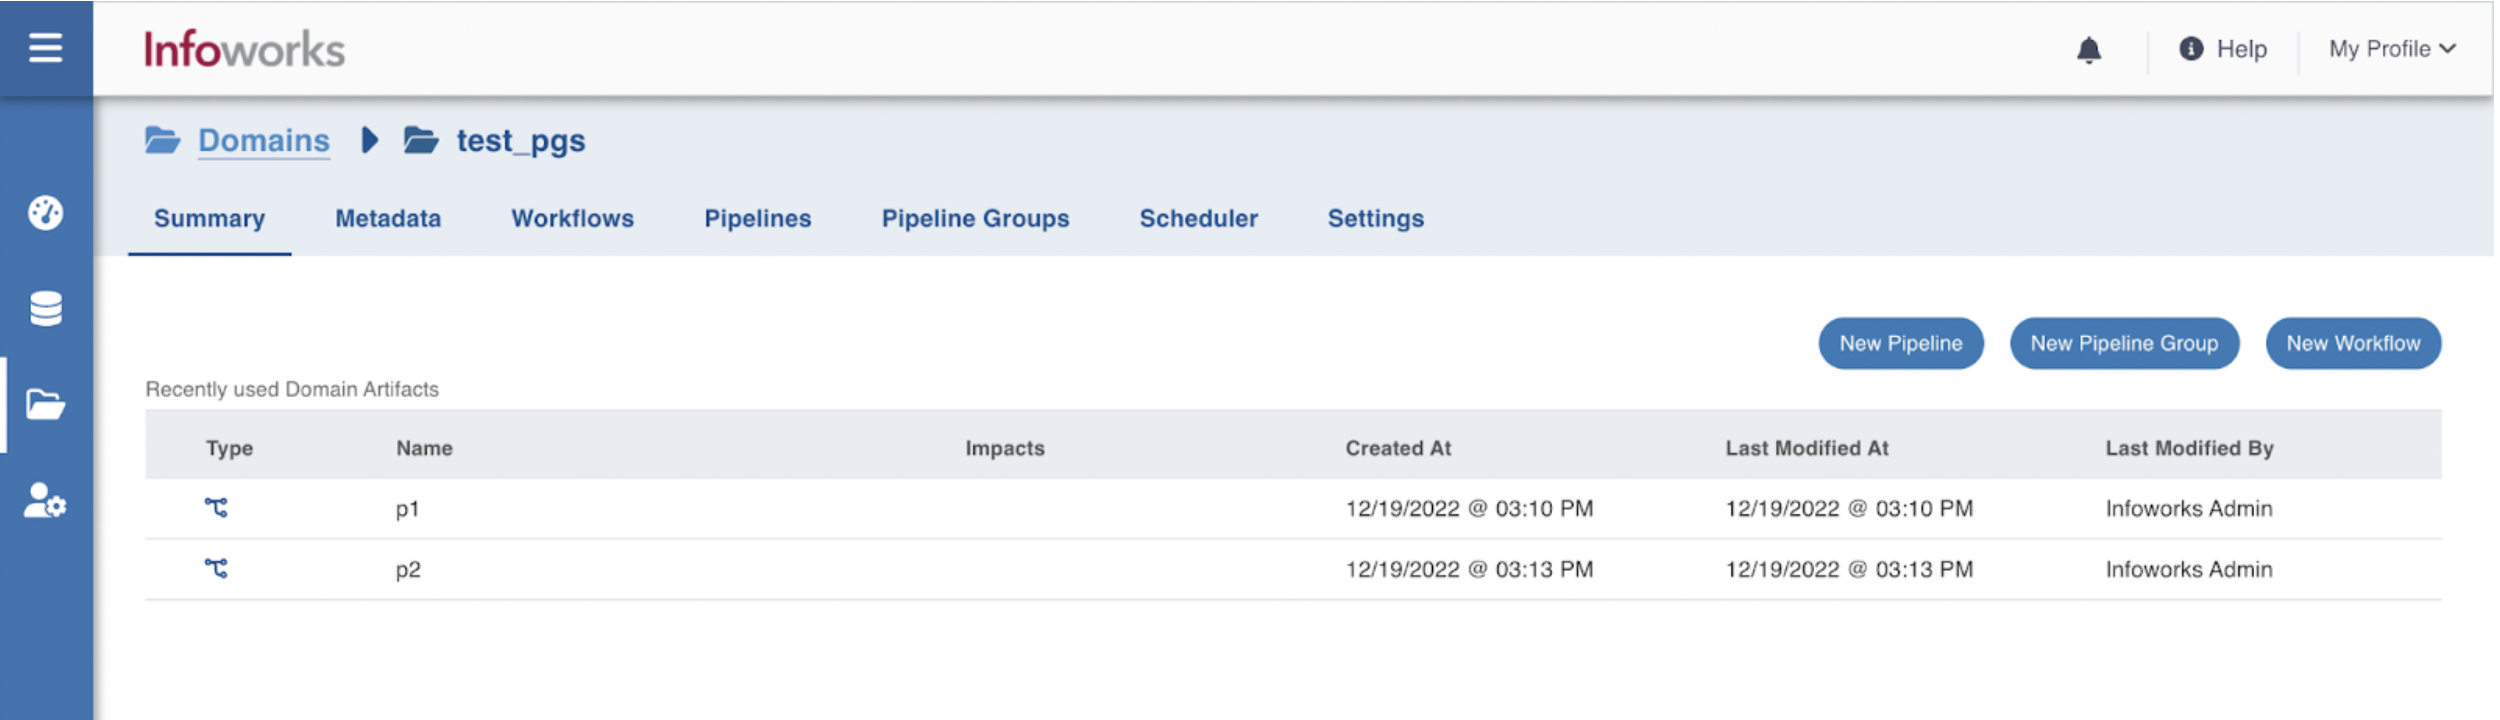
Step 2: Click New Pipeline Group.
Step 3: Provide the following pipeline group details.
Field | Description | Details |
|---|---|---|
Data Environment | Name of the data environment | Select the name from the dropdown |
Name | Name of the pipeline group | NOTE There should not be any space in the name |
Description | Description of the pipeline group | |
Snowflake Warehouse | Snowflake warehouse name. | Snowflake Warehouse drop-down will appear based on the selected snowflake profile. |
Snowflake Profile | Snowflake profile name. | Snowflake Profile drop-down will appear for the selected snowflake environment. |
Run driver job on data plane | Select this checkbox to run the job driver on data plane. | |
Compute Cluster | The compute cluster that is spin up for each table. | |
Custom Tags | They're key-value pairs that help you identify resources based on settings that are applied to your cloud resources | |
Associated Custom Tags | The custom tags selected appear here. | |
Query Tags | A string that is added to the Snowflake query tag and can be accessed via Query history in Snowflake. |
Under the All Pipelines tab, add the required pipelines to the pipeline group.
Field | Description | Details |
|---|---|---|
Name | Name of the pipeline | |
Created By | User who created the pipeline | |
Created At | Timestamp for pipeline Creation | |
Added to the Group | Whether it is added to any pipeline group |
Step 4: Click Add to add the pipelines to the pipeline group.
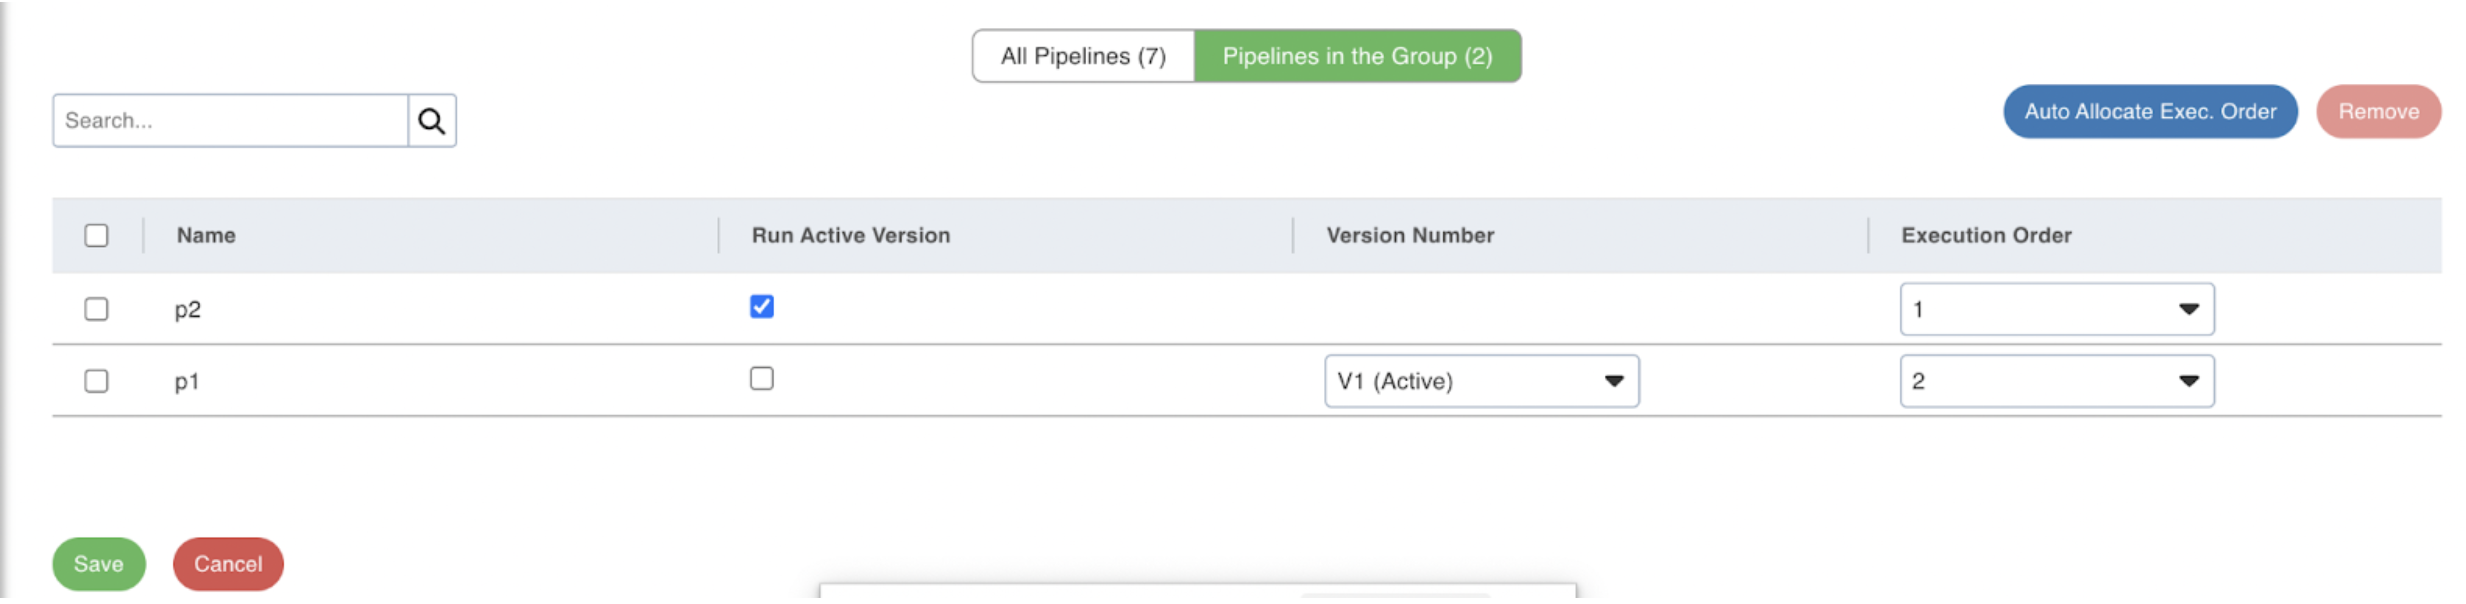
Step 5: Under the Pipelines in the Group tab, configure the following fields based on your requirement:
Field | Description |
|---|---|
Name | Name of the pipeline. |
Run Active Version | Select this checkbox to run the active version |
Version Number | Active version is the default version number. If you want to run any other version, select the specific version from the dropdown. |
Execution Order | Describes the order in which the pipelines will get executed. |
Step 6: Click Save.
LIMITATIONS
Creating volatile temporary tables is not supported for pipelines running in a group.
Running multiple pipeline groups in parallel on databricks interactive cluster is not recommended since they will share the static session context and might result in unwanted results.
Target table data will be truncated in case of overwrite pipelines when the pipeline group fails.