This page allows administrators to take a backup of the current metadata stored in MongoDB.
- The Metadata Backup tab is only visible when MondoDB is managed by Infoworks. This feature is not available in case of MongoDb Atlas or external Mongo.
- This can be verified by checking if the
metadb_managedkey is set to true in IW_HOME/conf/conf.properties.
To manage the metadata, follow the steps below:
- Sign in to Infoworks UI with admin credentials.
- Click the Admin menu, and then click the Metadata Management icon. Two tabs named Metadata Cleanup Policies and Metadata Backup are displayed.
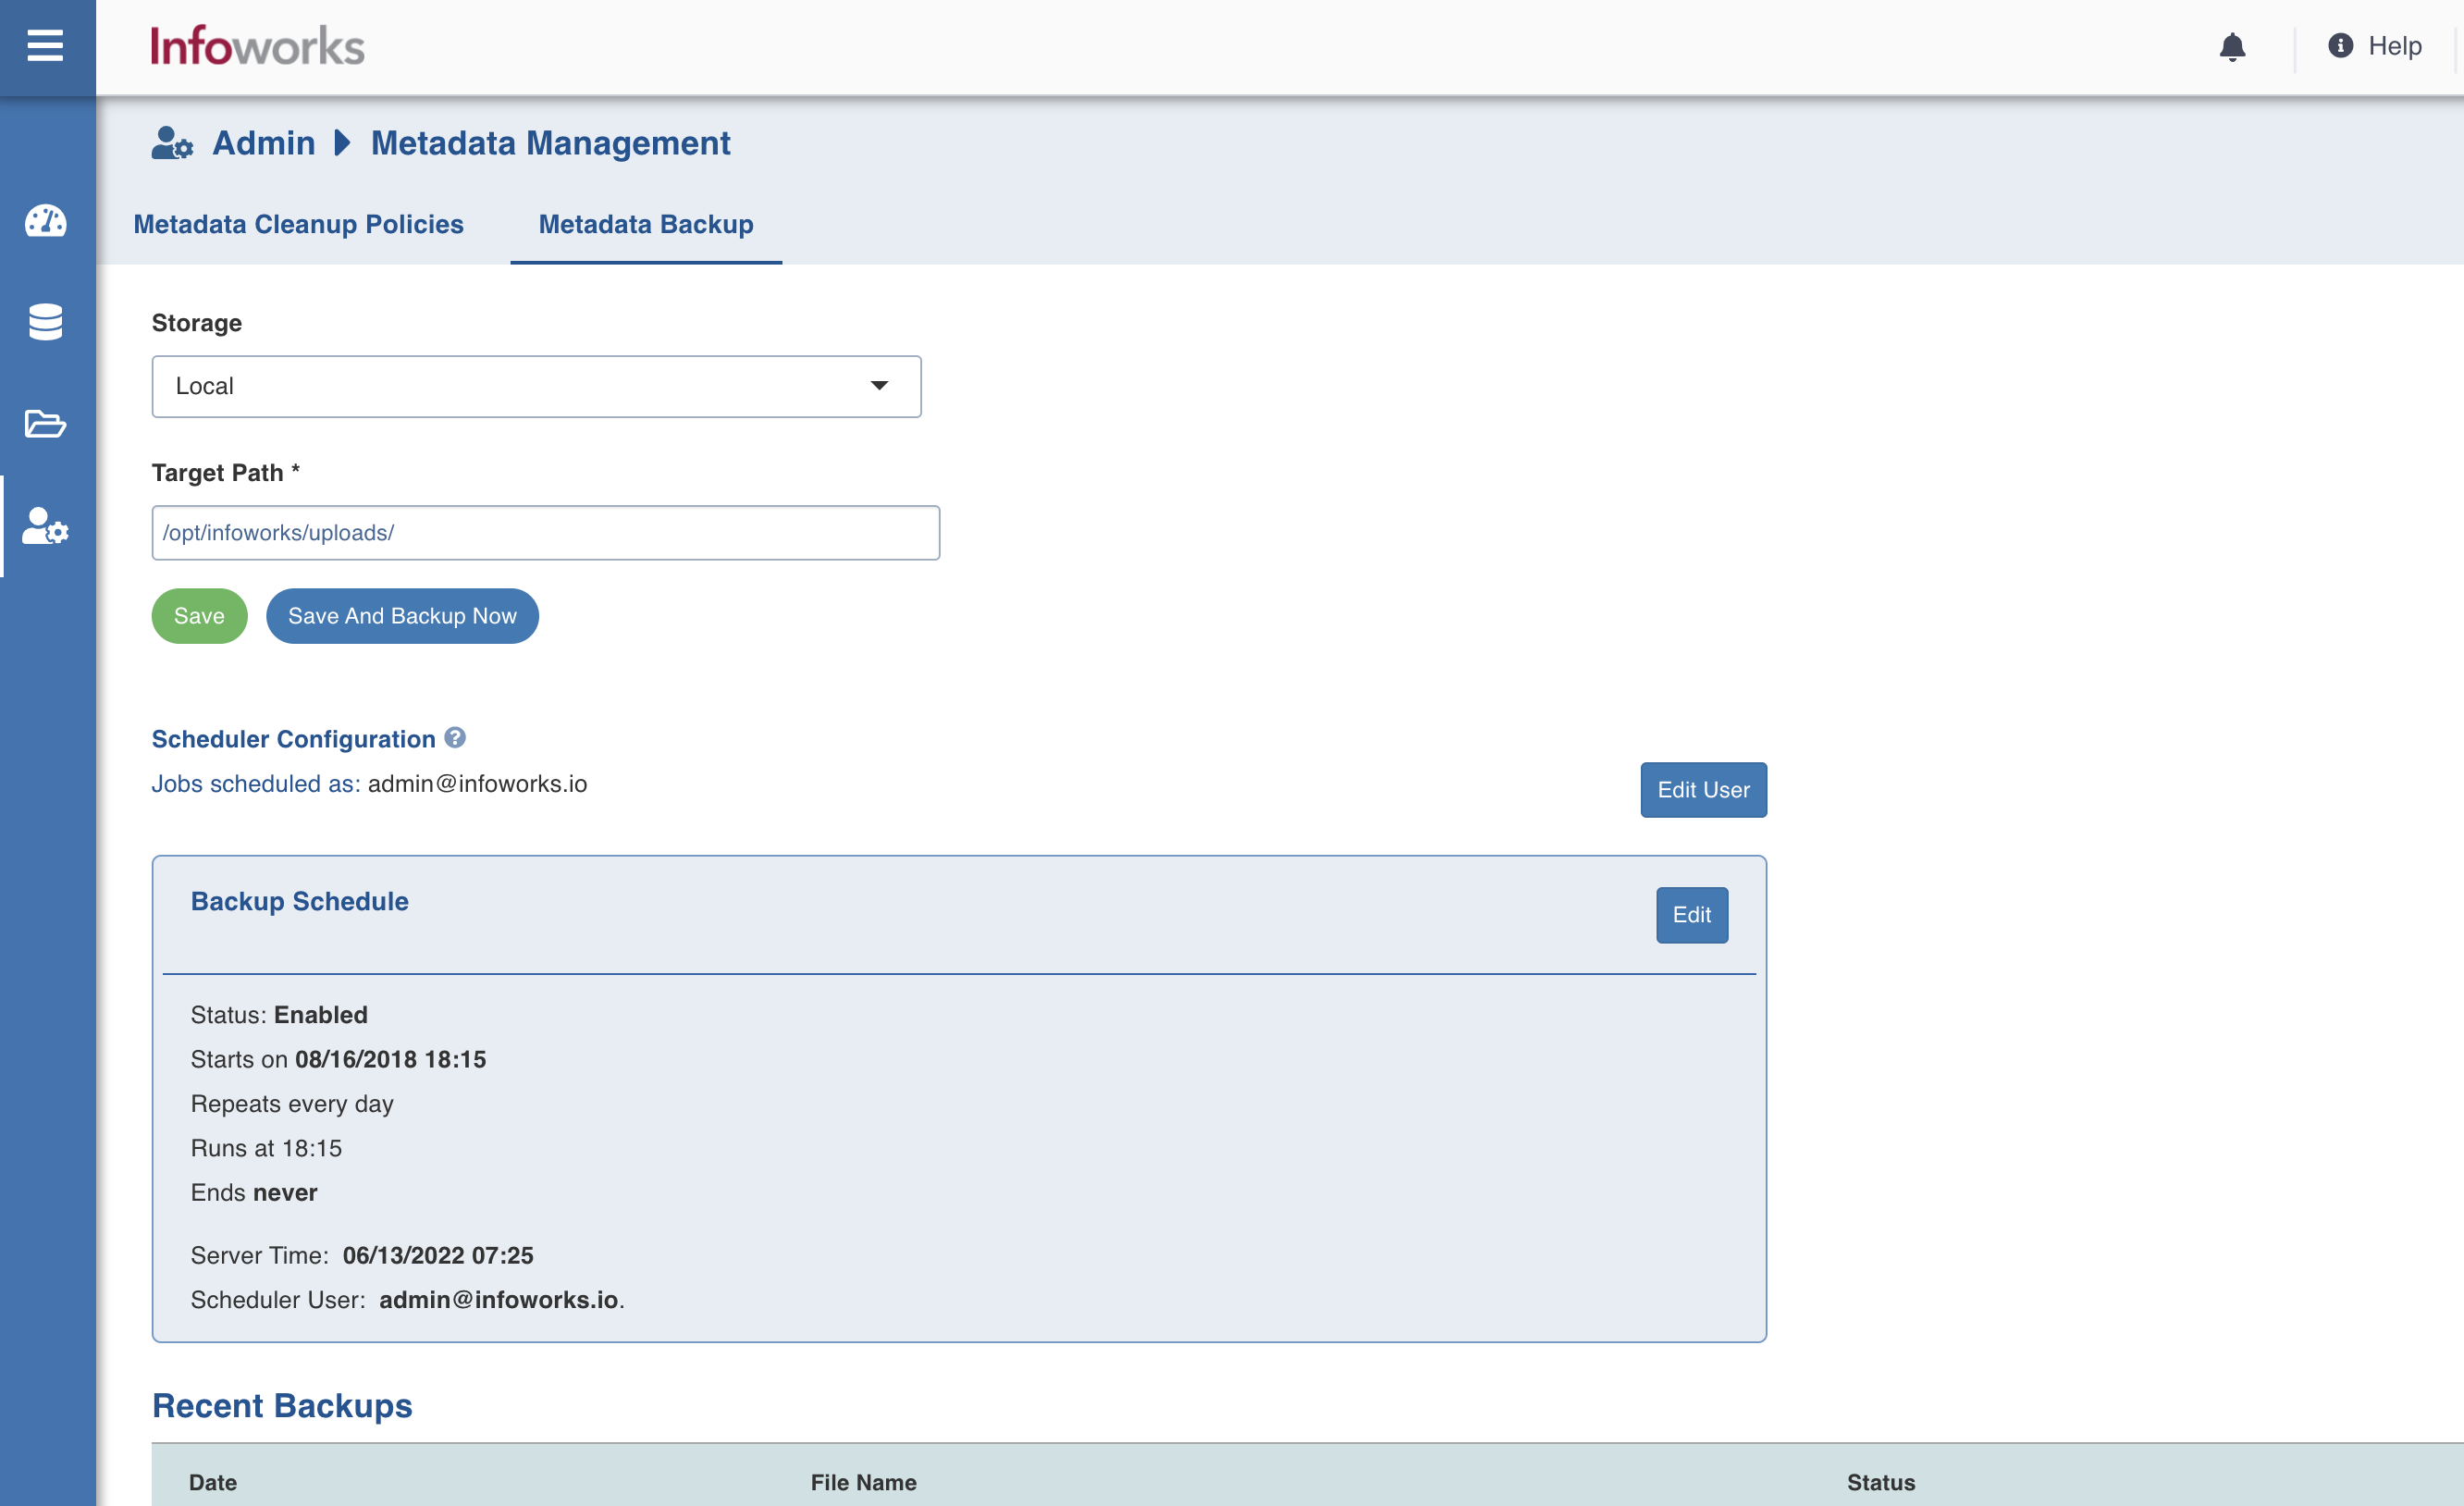
- For archival of metadata, select the Metadata Backup tab.
- In the Storage drop-down, select the relevant option. The storage options available are local (storing the metadata in Infoworks edge node) and cloud (GCS, S3, WASB).
- If you want to store metadata in local, select Local in the Storage drop-down, and enter the local target path.
- If you want to store the data in GCS cloud, select GCS in the Storage drop-down, and enter the following details:
| Field | Description | Details |
|---|---|---|
| Bucket Name | Buckets are the basic containers that hold, organise, and control access to your data. | Provide the storage bucket key. Do not use gs:// for storage bucket. |
| Authentication Mechanism | Specifies the authentication mechanism using which the security information is stored. Includes the following authentication mechanisms:
| The Service account credential file uses the IAM Service Account to identify and authorize the application. |
| Service Credentials | Option to select the service credential which authenticate calls to Google Cloud APIs or other non-Google APIs. | Available options are Upload File and Enter File Location. |
- If you want to store the data in S3 cloud, select S3 in the Storage drop-down, and enter the following details:
| Field | Description | Details |
|---|---|---|
| Bucket Name | Buckets are the basic containers that hold, organise, and control access to your data. | Provide the storage bucket key. Do not use gs:// for storage bucket. |
| Access Key | Unique 20-character, alphanumeric string which identifies your AWS account. For example, AKIAIOSFODNN7EXAMPLE. | Provide the required access key. |
| Secret Key | Unique 40-character string which allows you to send requests using the AWS account. For example, wJalrXUtnFEMI/K7MDENG/bPxRfiCYEXAMPLEKEY. | Provide the required access key. |
- If you want to store the data in WASB cloud, select WASB in the Storage drop-down, and enter the following details:
| Field | Description | Details |
|---|---|---|
| Container Name | Name of the WASB container. | Provide the WASB container name. |
| Storage Account | Account name of WASB storage. | Provide the storage account name. |
| Account Key | Access key of WASB storage. | Provide the required access key. |
5. Click the Save and Backup Now *button to save the details and run the metadata backup. When the job is submitted successfully, an entry will be added in the *Recent Backups list.
- To view the status/details of the job, go to Managing Admin Jobs page.
The Metadata Backup page has two sections: Backup Schedule and Recent Backups.
Backup Schedule
The backup can be taken immediately or it can be scheduled to run whenever required.
The Save and Backup Now button takes an immediate backup of the metadata and is disabled by default until the target path to store the backup is specified.
To specify the target path, enter target path of the local file system in the Target Path text field, and click Save. You can configure any schedule if needed by clicking Edit in Backup Schedule area, and setting the relevant parameters.

Click Save and Backup Now to save the configuration and to run the backup metadata job in the background. After the successful completion of the backup, an entry will be added in the Recent Backup view.
Recent Backups
Recent backup view displays the list of all previous backups of the Infoworks metadata.
- Date: Timestamp on which the backup was taken.
- Filename: Path of the file where the backup was taken.
- Status: Whether the backup was successful or not.