
Oracle Database is a multi-model database management system commonly used for running online transaction processing, data warehousing and mixed database workloads.
The process to export data to an Oracle DB is described in the following sections:
Define the Oracle Target Data Connection > Create a Pipeline to Add Oracle Node > Export the Data
Define the Oracle Target Data Connection
The following are the steps to configure a Postgres data connection:
Navigate to the required domain and click the Target Data Connections icon.
Click Add Connection.
In the Add Data Connection page, provide the following connection details.
Click Save.
Field | Description |
|---|---|
Type | The type of target data connection. Select Oracle. |
Name | The name for the target data connection. The connection name must be unique across the specific domain. |
Description | The description for the target data connection. |
JDBC URL | The JDBC URL to connect to the Oracle database. The URL must be of the following format: jdbc:oracle:thin:@<hostname>:<port>:<sid> |
User Name | The username of the Oracle target account. |
Password | The password of the Oracle target account. |
Additional Params | The optional JDBC parameters. For example, ssl=true & TCPKeepAlive=false. |
Create a Pipeline to Add Oracle Node
Following are the steps to add a new pipeline to the domain:
Click the Domains menu and click the required domain from the list. You can also search for the required domain.
Click the Pipelines icon.
In the Pipelines page, click the New Pipeline button.
Enter the following details.
Click Save. The new pipeline will be added to the list of pipelines.
Field | Description |
|---|---|
Name | Unique name for the pipeline. |
Description | Description for the pipeline. |
Execution Engine | Select the Execution Engine as Spark. |
Machine Learning Library | Select SparkML__. |
Cluster Templates for Batch Mode | Select the default cluster template. |
Design a Pipeline
Following are the steps to design a pipeline:
In the Pipelines page, click the new pipeline created. The Overview page is displayed with the pipeline version details and a blank design space.
Click Open Editor or click on the blank design space to open the editor page.
From the left panel, drag and drop the required Source tables from the Datalake Tables tab, and Oracle Table node from the Transformations tab, to the pipeline editor and connect them to design a pipeline.
Click Save.
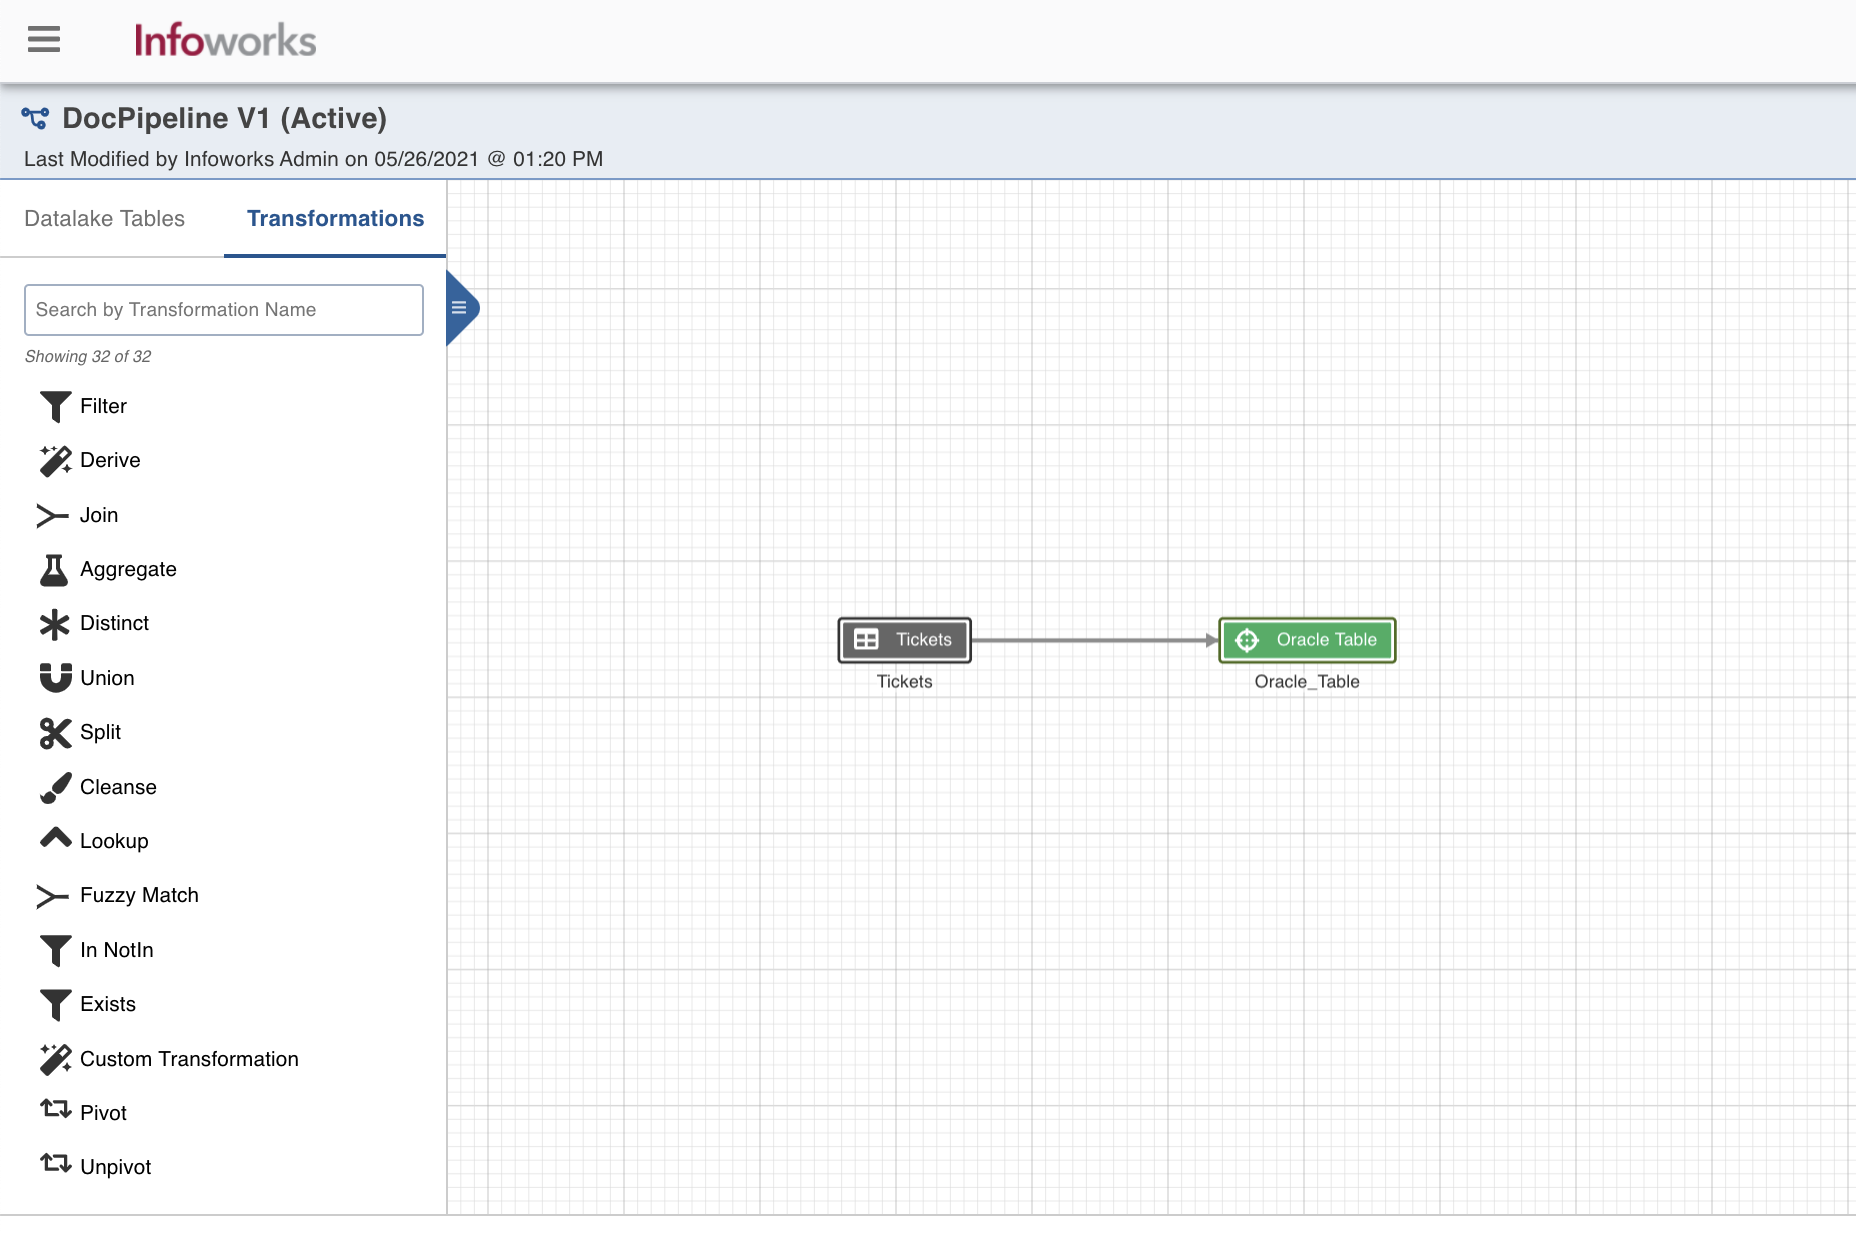
Oracle Table Node Configuration
Following are the steps to apply Oracle Table Target node in pipeline:
Double-click the Oracle Table node. The Properties page is displayed.
Click Edit Properties.
Field | Description |
|---|---|
Build Mode | The options include overwrite, append, merge or insert-overwrite. Overwrite: Drops and recreates the Oracle target. Merge: Merges data to the existing table based on the natural key. Append: Appends data to the existing Oracle target. Insert-Overwrite: Overwrites all the rows based on combination of natural keys (OR condition) and inserts new rows. |
Data Connection | The data connection created in the Define the Oracle Target Data Connection step for Oracle Target. |
Schema Name | The name of the existing schema in the Oracle database. Infoworks does not create a schema, hence the schema should be pre-existing. |
Table Name | The table name for the Oracle target. |
Natural Keys | The combination of keys to uniquely identify the row. |
Is Existing Table | When enabled, existing table behavior works as an external table to Infoworks. The table will not be created/dropped or managed by Infoworks. |
Partition Type | The type of partition for the table. By default, the Partition Type is set to None. You can also select the following partition types: List: Table is partitioned according to the listed values. If the table’s relevant columns contain data for a particular list, then the List partitioning method is used in these tables. Range: Table is partitioned according to the specific date and number range. Each partition has an upper and lower bound, and the data is stored in this range on partitions. **Note:**Following datatypes can be used as an indexing column for range partitioning: String, Number of rows or Timestamp Hash: Hash partitioning divides partitions using a hashing algorithm that partitioning key is applied that you identify. |
Partition Column | The column based on which the data will be partitioned. This field is displayed for the list, range, and hash partition types. |
Is Default | The condition to use the default partitioning for the child partition. This field is displayed for the list partition type. |
Partition Table | The name of the partition table. This field is displayed for the list and range partition type. You can add multiple partition tables. |
Values | The values based on which the child partition will be created. This field is displayed for the list partition types. |
Less Than Value | The less than value for the range partition. |
Number of Partitions | The number of partitions to be created. This field is displayed for the hash partition type. |
Tablespace Names | A comma-separated list of tablespace names for hashing. |
Index Type | The indexing option. By default, the Index Type is set to None. You can also select the following Index types: BTree: A b-tree index works by creating a series of nodes in a hierarchy. In a b-tree, you walk the branches until you get to the node that has the data you want to use. In the classic b-tree structure, there are branches from the top that lead to leaf nodes that contain the data. Bitmap: : A bitmap index is a special kind of database index which uses bitmaps or bit array. In a bitmap index, Oracle stores a bitmap for each index key. Each index key stores pointers to multiple rows. _Note:___Bitmap index can not be used with the partitioned table |
Sync Table Schema | The option to synchronise pipeline export table schema with source table schema. |
Export the Data
Following are the steps to build a pipeline:
Navigate to the required pipeline and click the Build icon.
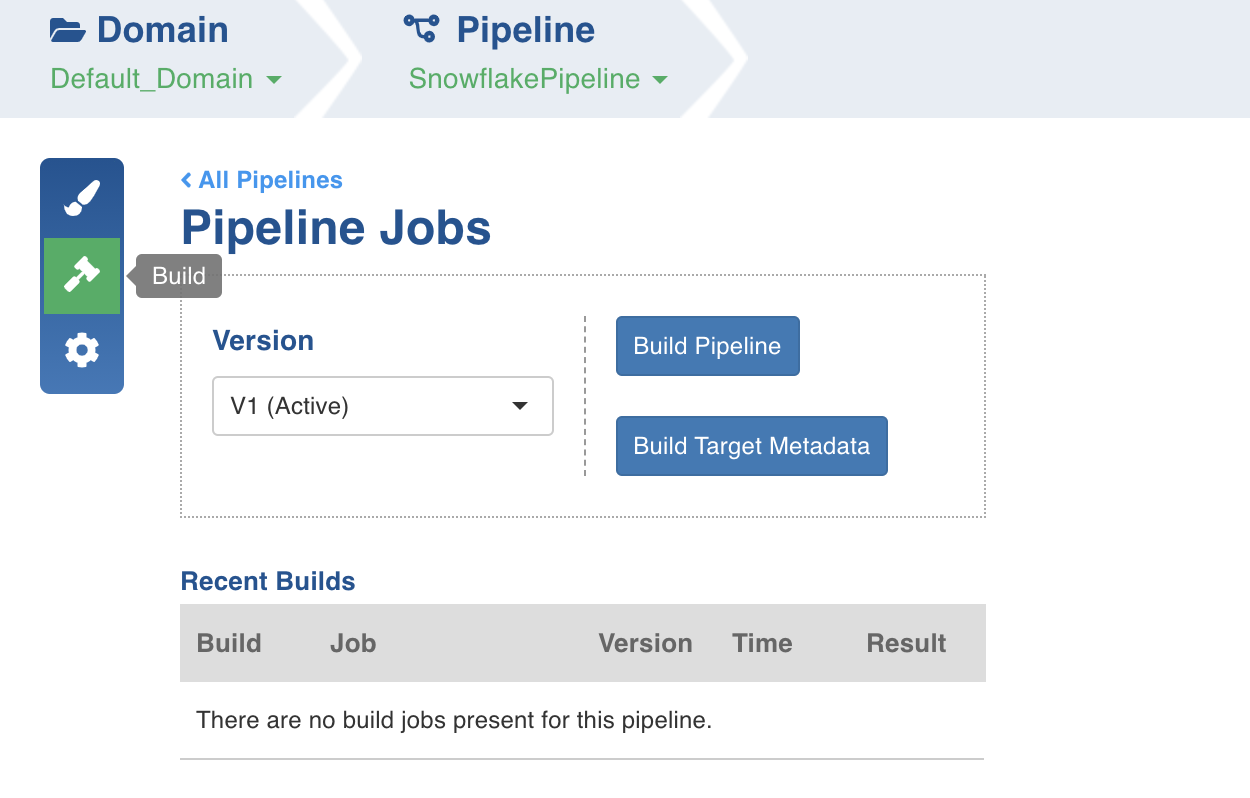
2. Select the Version and click Build Pipeline to build the pipeline version.
You can click the Build Target Metadata button to enable import of multiple, sequential pipelines with export configuration.
Click any of the existing builds under the Recent Builds section to view the detailed information of the job. You can view the summary. You can also download logs of the job.
Supported Datatypes and Mappings
Below is the list of supported source datatypes and their mapping to oracle datatypes:
Spark Datatype | Oracle Datatype |
|---|---|
DecimalType | NUMBER |
NUMBER | NUMBER |
FloatType | FLOAT |
DoubleType | FLOAT |
StringType | VARCHAR2(4000) |
DateType | DATE |
TimestampType | TIMESTAMP |
BooleanType | NUMBER |