Creating Table Group
The following are the steps to create a table group:
Click Create Table Group and provide the table group details.
Field | Description |
|---|---|
Job Name | The name of the ingestion job. |
Max. Connections to Source | The maximum number of source database connections allocated to this ingestion table group. |
Max. Parallel Tables | The maximum number of tables that can be crawled at a given instance. |
Compute Template | The template based on which the cluster will spin up for each table. The compute templates created by admin that can be accessed by the source are displayed in the drop-down list. |
Overwrite Worker Count | The option to overwrite the minimum and maximum worker values configured in the compute template. |
Min Workers | The minimum number of nodes that will spin up in the cluster. |
Max Workers | The maximum number of nodes that can be spun up in the cluster. |
Number of Worker Nodes | The number of nodes that can be spun up in the cluster. |
Snowflake Warehouse | This field appears only if the Data Environment selected in a CDW env. For e.g. Snowflake. Select from the list of associated warehouses. |
Query Tags | A string that is added to the Snowflake query and can be accessed via Query history in Snowflake. NOTE This field appears only if the source is using Snowflake CDW environment. |
Select the required tables and click Add Tables To Group.

Click Save.
Editing Table Group Details
The following are the steps to configure a table group:
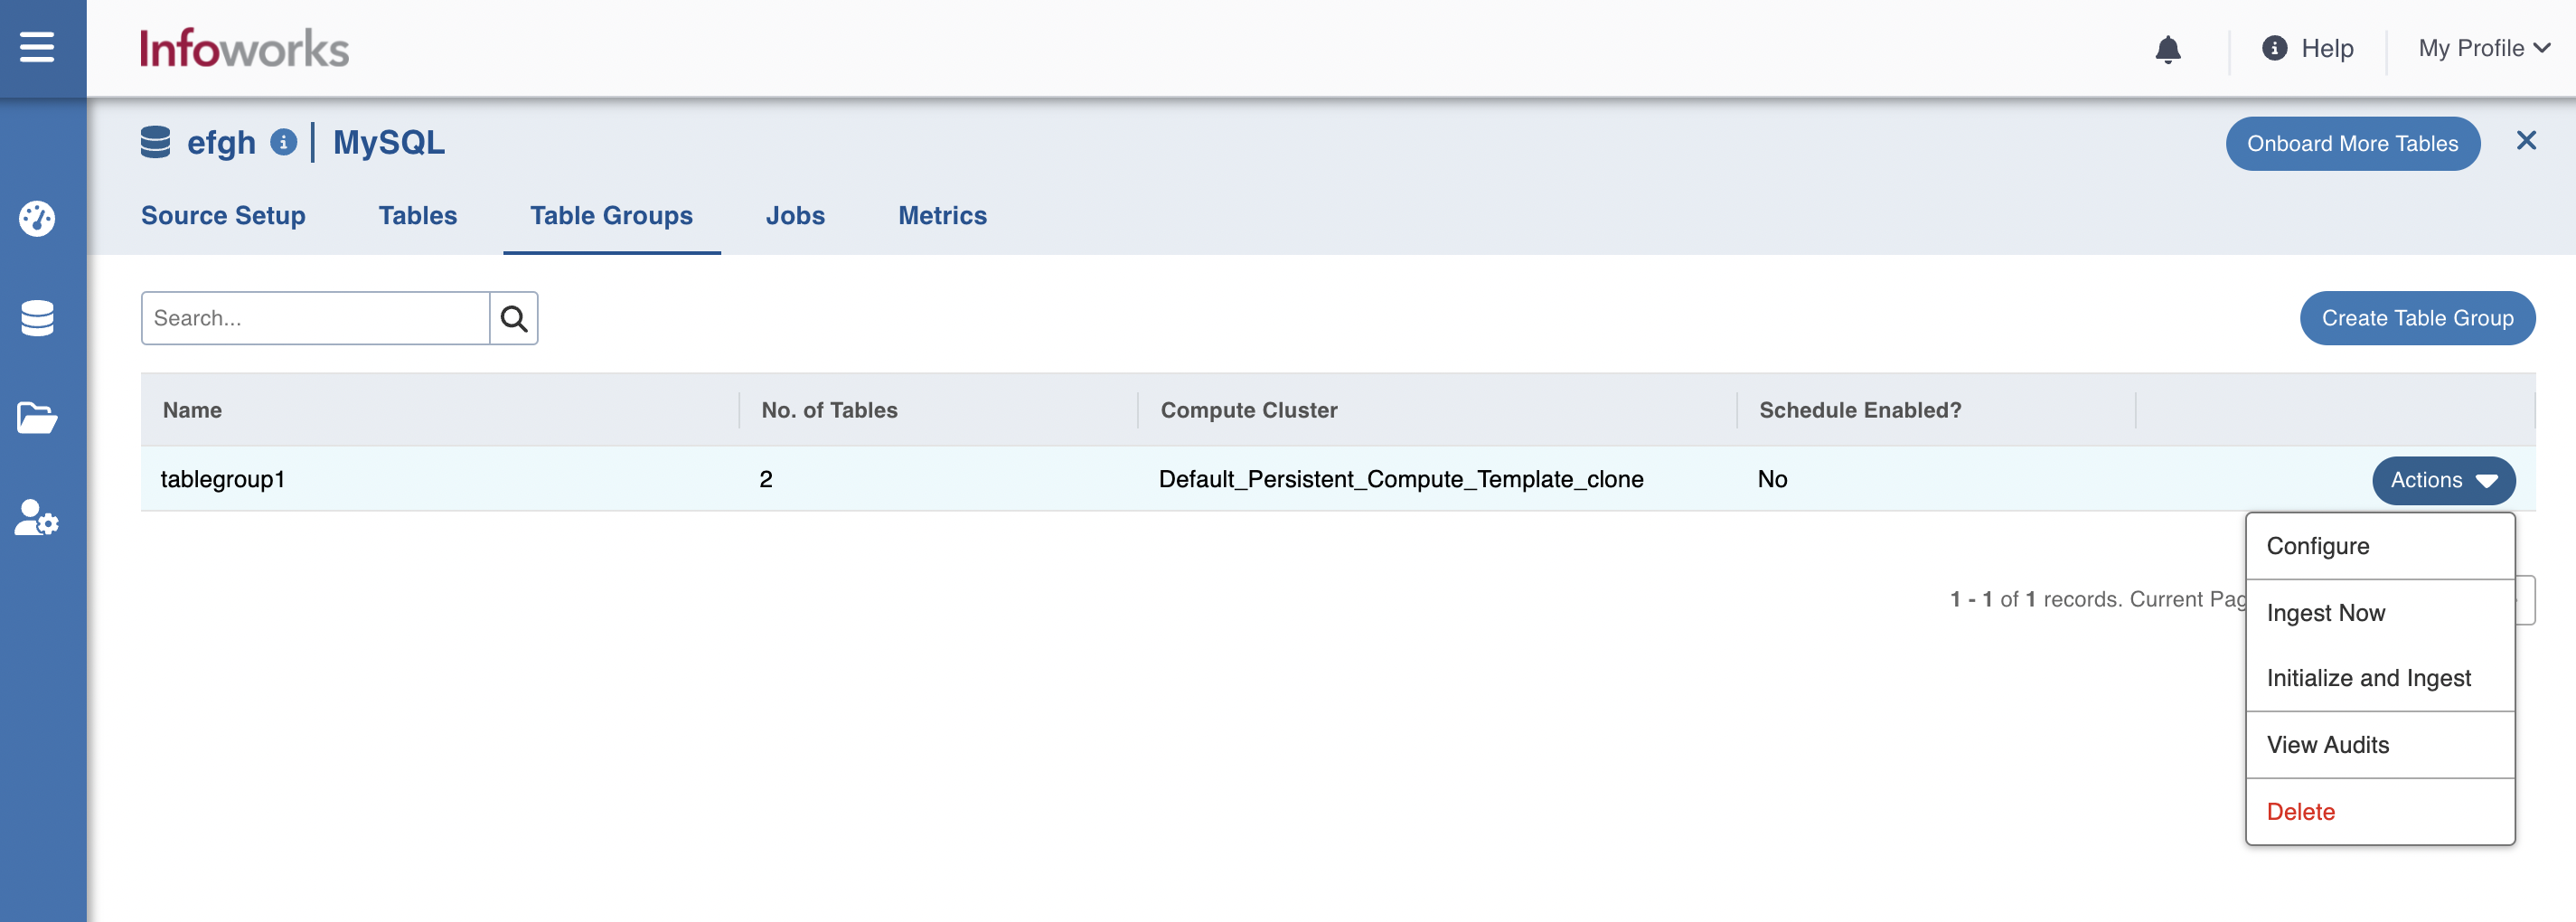
Navigate to the Table Groups tab.
Click Actions for the required table group and click Configure. The table group details with the list of tables will be displayed.
Edit the required details.
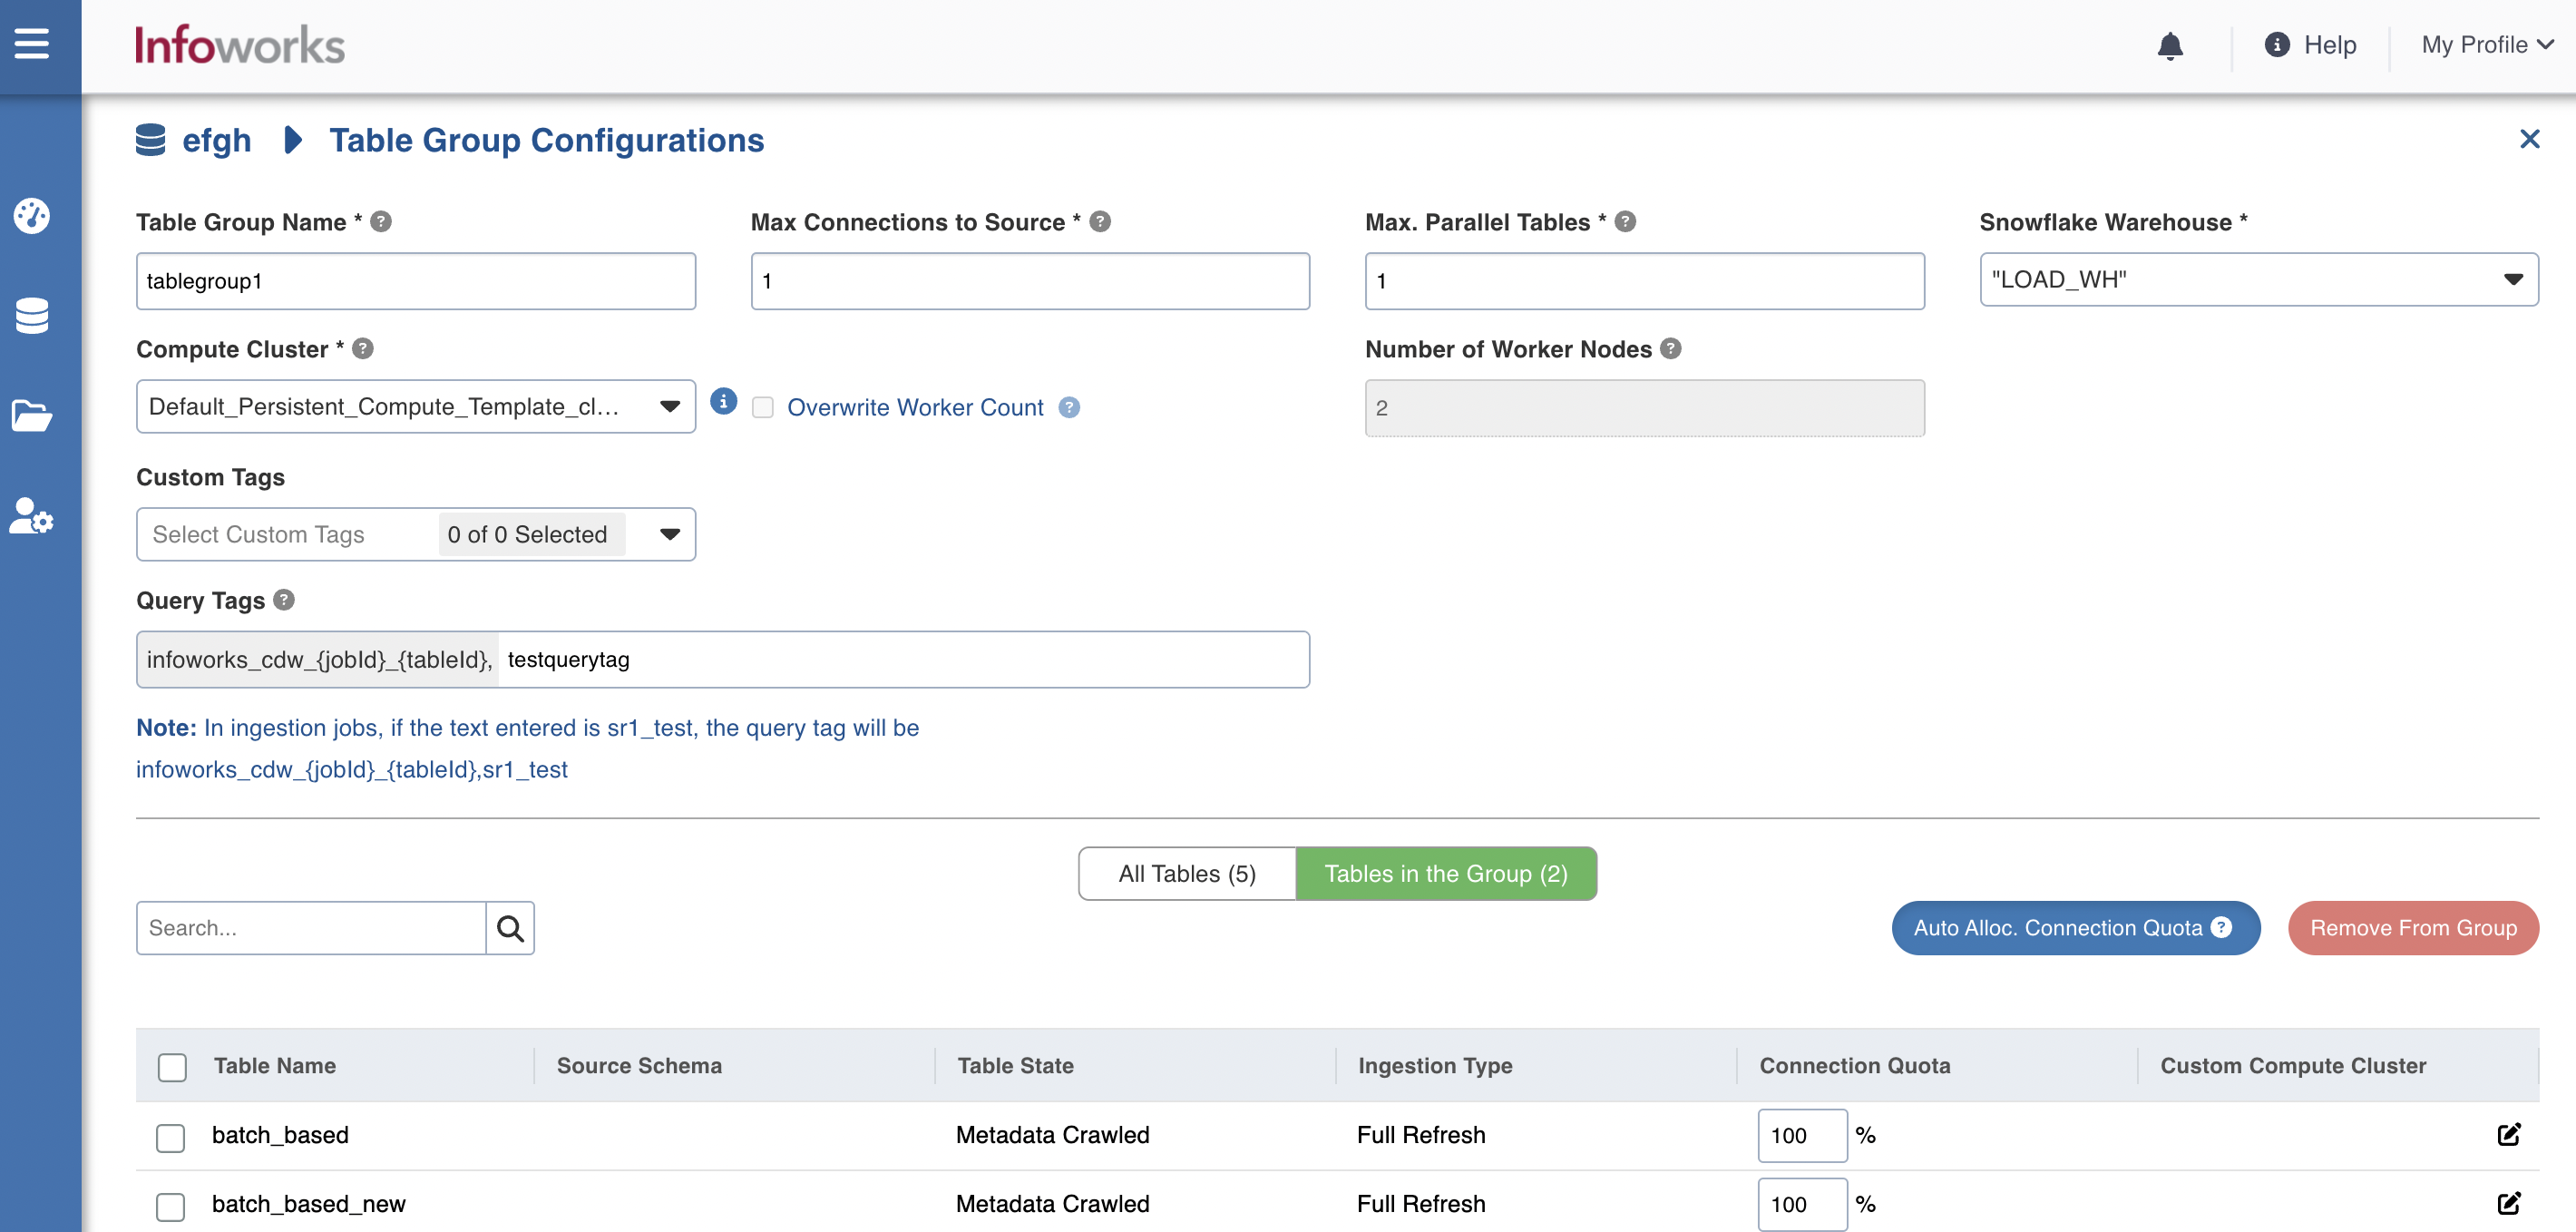
4. Click All Tables to view all the tables in the source.
Click Tables in the Group to view the tables in the table group.
Click Auto Alloc. Connection Quota to autofill the Connection Quota for optimal use based on the maximum number of parallel tables. The value is calculated as 100/(Max parallel tables) or 100/(No. of tables in the group), whichever is greater.
Select the table and click Remove From Group to remove the table from the table group.
Click Save.
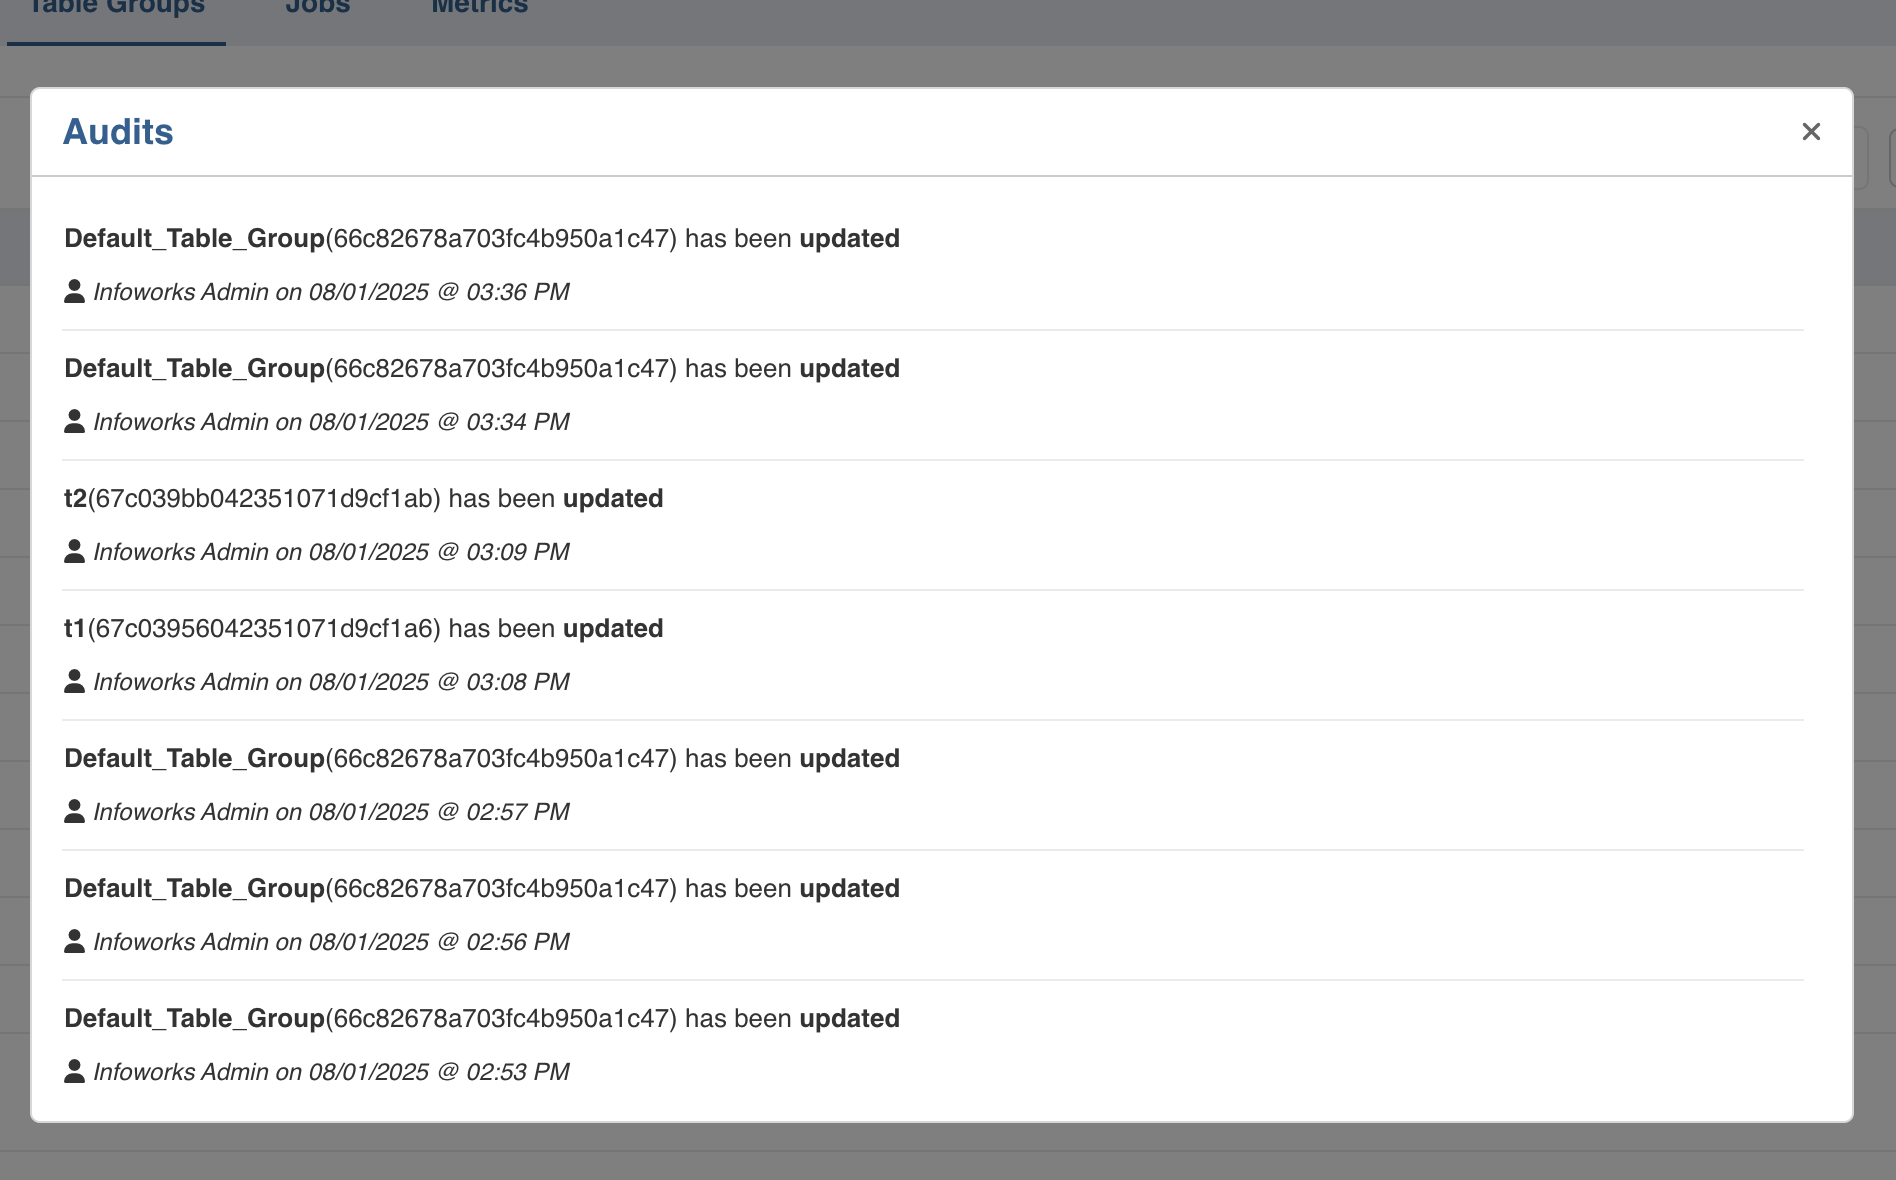
Table Group Audit
Each table group has two types of audit logs to track user actions:
Global Audits
To see audits, navigate to the "Table Groups" page of the source → Click on the "View Audits" tab (on top).
Displays all CREATE, UPDATE, and DELETE actions performed on table groups.
NOTE This log does not include field-level changes within the table group.
Individual Table Group Audits
To see audits, navigate to the "Table Groups” page of the source → Click on the audit icon/button (next to each Table Group name).
Contains all UPDATE, CREATE and DELETE changes done on the table group by the user.