All pods in the AKS cluster can send and receive traffic without limitations, by default. To improve security, you can define rules that control the flow of traffic.
Network Policy is a Kubernetes specification that defines access policies for communication between pods. Using network Policy, you can define an ordered set of rules to send and receive traffic.
To learn more about it, refer to the official documentation of Microsoft on network policy.
How to allow additional Internal traffic flow via Network Policy rules
This section gives an overview on how to configure Network Policy rules:
NOTE It is required to allow traffic from the following namespaces.
kube-system
linkerd (Assuming Linkerd is enabled as a service mesh)
ingress-nginx (only if, ingress-nginx is provisioned external to infoworks)
keda
If linkerd, ingress-nginx and keda are installed in custom namespaces, please allow traffic from those namespaces.
CASE 1: To add any other external namespace apart from the default one. Follow the below steps:
NOTE Incase ingress-nginx is provisioned outside Infoworks deployment then the namespace ingress-nginx should be added below the default namespaces as listed below.
Step 1: Go to values.yaml and edit the same.
Step 2: Go to networkPolicy under the global section in values.yaml.
Step 3: Set the global.networkPolicy.enabled value to true.
Step 4: Now add the required external namespace value at global.networkPolicy.namespaceValue section. Make sure that the format should be in the list.
CASE 2: To allow external pods running in infoworks namespace to reach infoworks services. Follow the following steps:
Step 1: Go to values.yaml and edit the same.
Step 2: Go to networkPolicy under the global section in values.yaml.
Step 3: Set the global.networkPolicy.externalPodKeyVal.enabled value to true.
Step 4: Now in the global.networkPolicy.externalPodKeyVal.rules section add the key-value pair of pods.
For example: Let’s say there are two pods running with key-value pair as follows:
The 1st pod has a key-value pair as app1:val1 and the 2nd pod has a key-value pair as app1:val2. Add these following values according to the example shown above. Add as many pods key-val required but make sure to follow the syntax as above.
CASE 3: To allow specific pods from an external namespace to reach Infoworks without permitting connectivity to all pods in the external namespace, follow these steps:
Step 1: Go to values.yaml and edit the same.
Step 2: Go to networkPolicy under the global section in values.yaml.
Step 3: Set the global.networkPolicy.externalNamespaceKeyVal.enabled value to true.
Step 4: Now in the global.networkPolicy.externalNamespaceKeyVal.rules section add the key-value pair of pods.
For example: Let's say there is a namespace <namespace1> which has an ingress controller running with the following key-value pair: app.kubernetes.io/name - ingress-nginx. To allow only the ingress controller pod to access the newly created <namespace2>, add the key-value pair as shown in the screenshot above.
This step is required only when the AKS cluster doesn't have Network Policy enabled. To verify the same, follow the Approach mentioned here.
Steps to Disable Network Policy Rules
NOTE By default, Network Policy is enabled as true in values.yaml
Disable Network Policy for the following scenario:
Step 1: If the AKS cluster does not have Network Policy enabled.
Follow the following Steps to Disable Network Policy:
Step 1: Go to values.yaml and Edit the same.
Step 2: Go to networkPolicy under the global section in values.yaml
Step 3: Set the global.networkPolicy.enabled value to false.
Verify Network Policy Setup on cluster
Steps to verify whether network policies are enabled in an Azure Kubernetes Service (AKS) cluster.
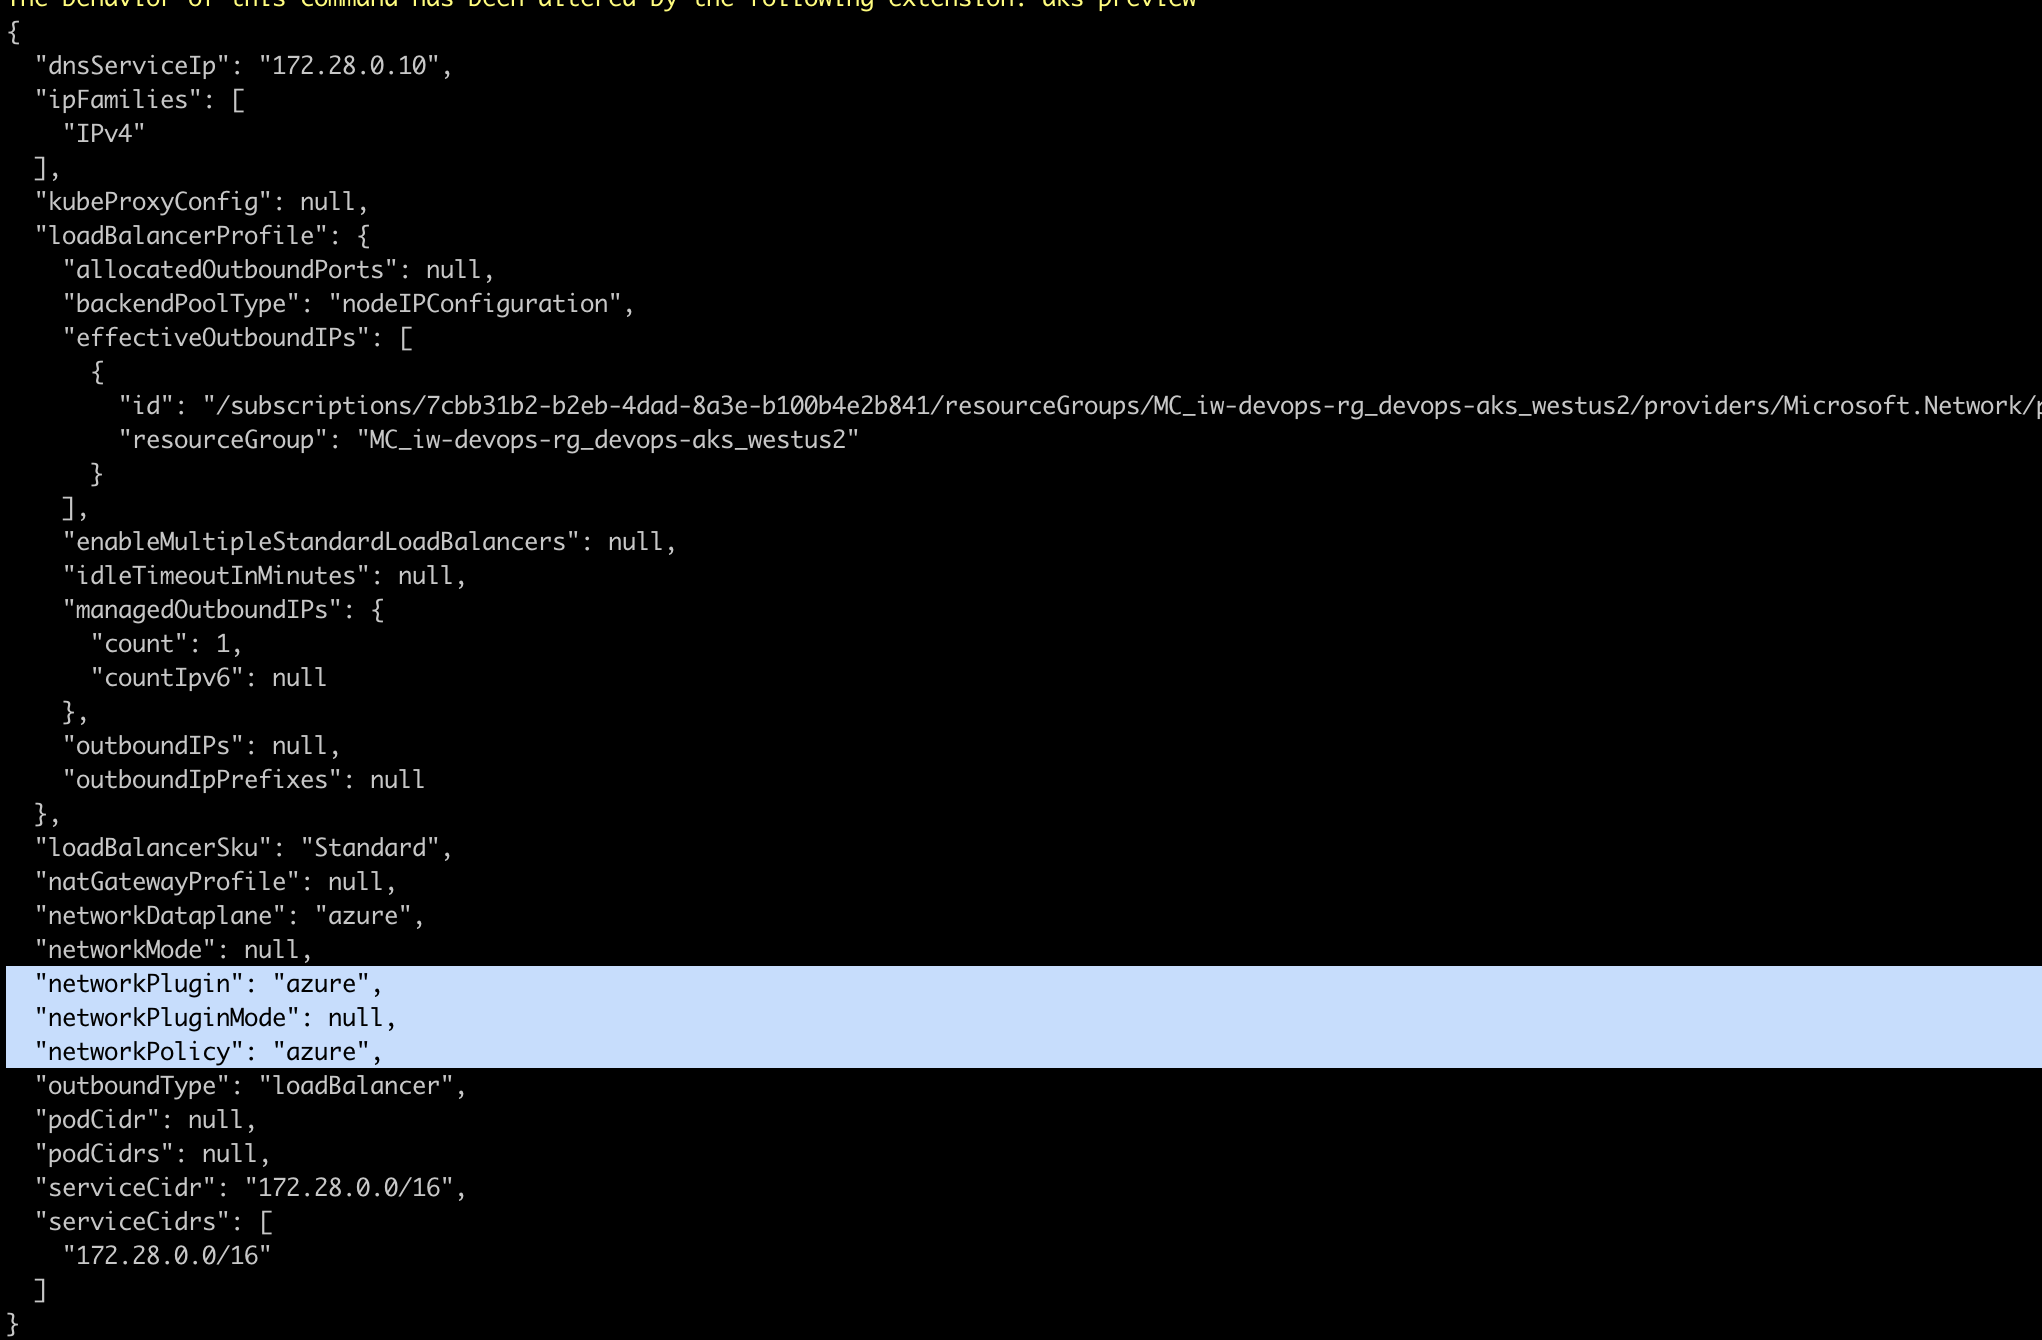
Azure CLI
NOTE Replace <resource-group-name> and <aks-cluster-name> with your actual values.
Expected Output
Azure Portal
Step 1: Open the Azure portal, go to the AKS service, and select your AKS cluster.
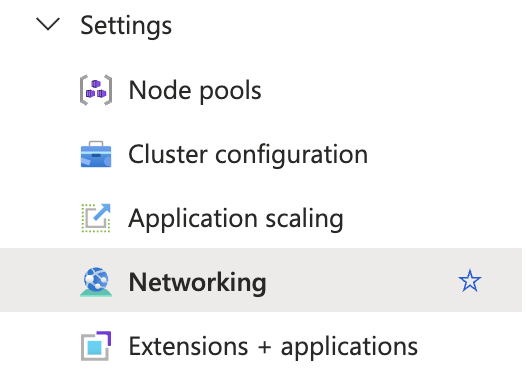
Step 2: In the left sidebar, under "Settings", click on "Networking".
Step 3: Look for the "Network Profile" section.
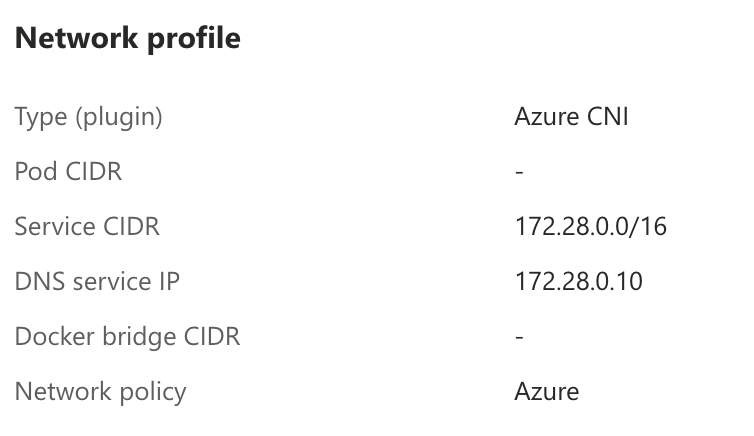
Step 4: If it says "Azure" or another network policy provider (eg. Calico), the network policies are enabled.