For a successful pipeline configuration migration, the sources and tables in the exported file must exactly match the names in the environment where the pipeline configuration is being imported.
This feature allows you to perform the following:
- map table to any source table or pipeline target.
- map a source table to pipeline target and vice versa.
- add to new columns during configuration Import.
- manually configure critical Target Node properties, like HDFS path, in the imported pipeline.
Downloading Pipeline Configurations
Following are the steps to export a pipeline configuration:
Click Domains menu and click the domain where the required pipeline is created.
On the Summary page of the domain, click the pipeline for which configuration must be migrated.
Click the Settings icon and locate the Download Configuration section as follows:
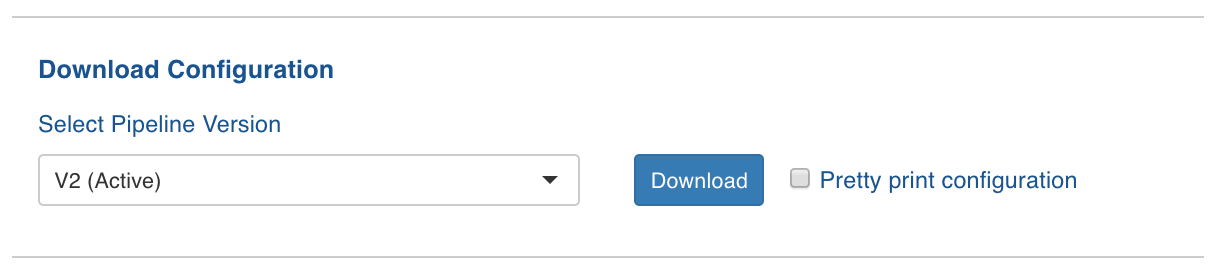
4. Select a version from the drop-down list. By default, the active version will be selected.
- EnablePretty print configuration to download the configuration file with JSON syntax.
- Click Download. The version configuration is downloaded.
Uploading Pipeline Configurations
Following are the steps to import pipeline configuration:
Click Domains menu and click the domain where the required pipeline is created.
On the Summary page of the domain, click the pipeline for which configuration must be migrated.
Click the Settings icon and locate the Upload Configuration section as follows:
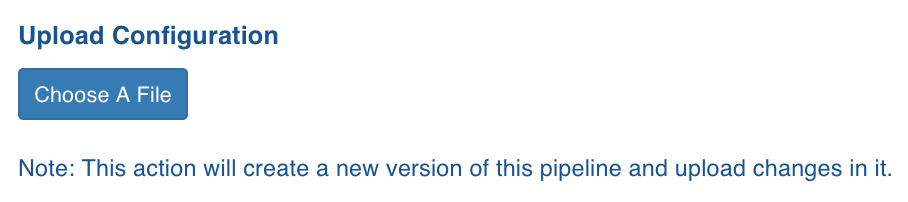
4. Click Choose A File and select the required pipeline version configuration file.
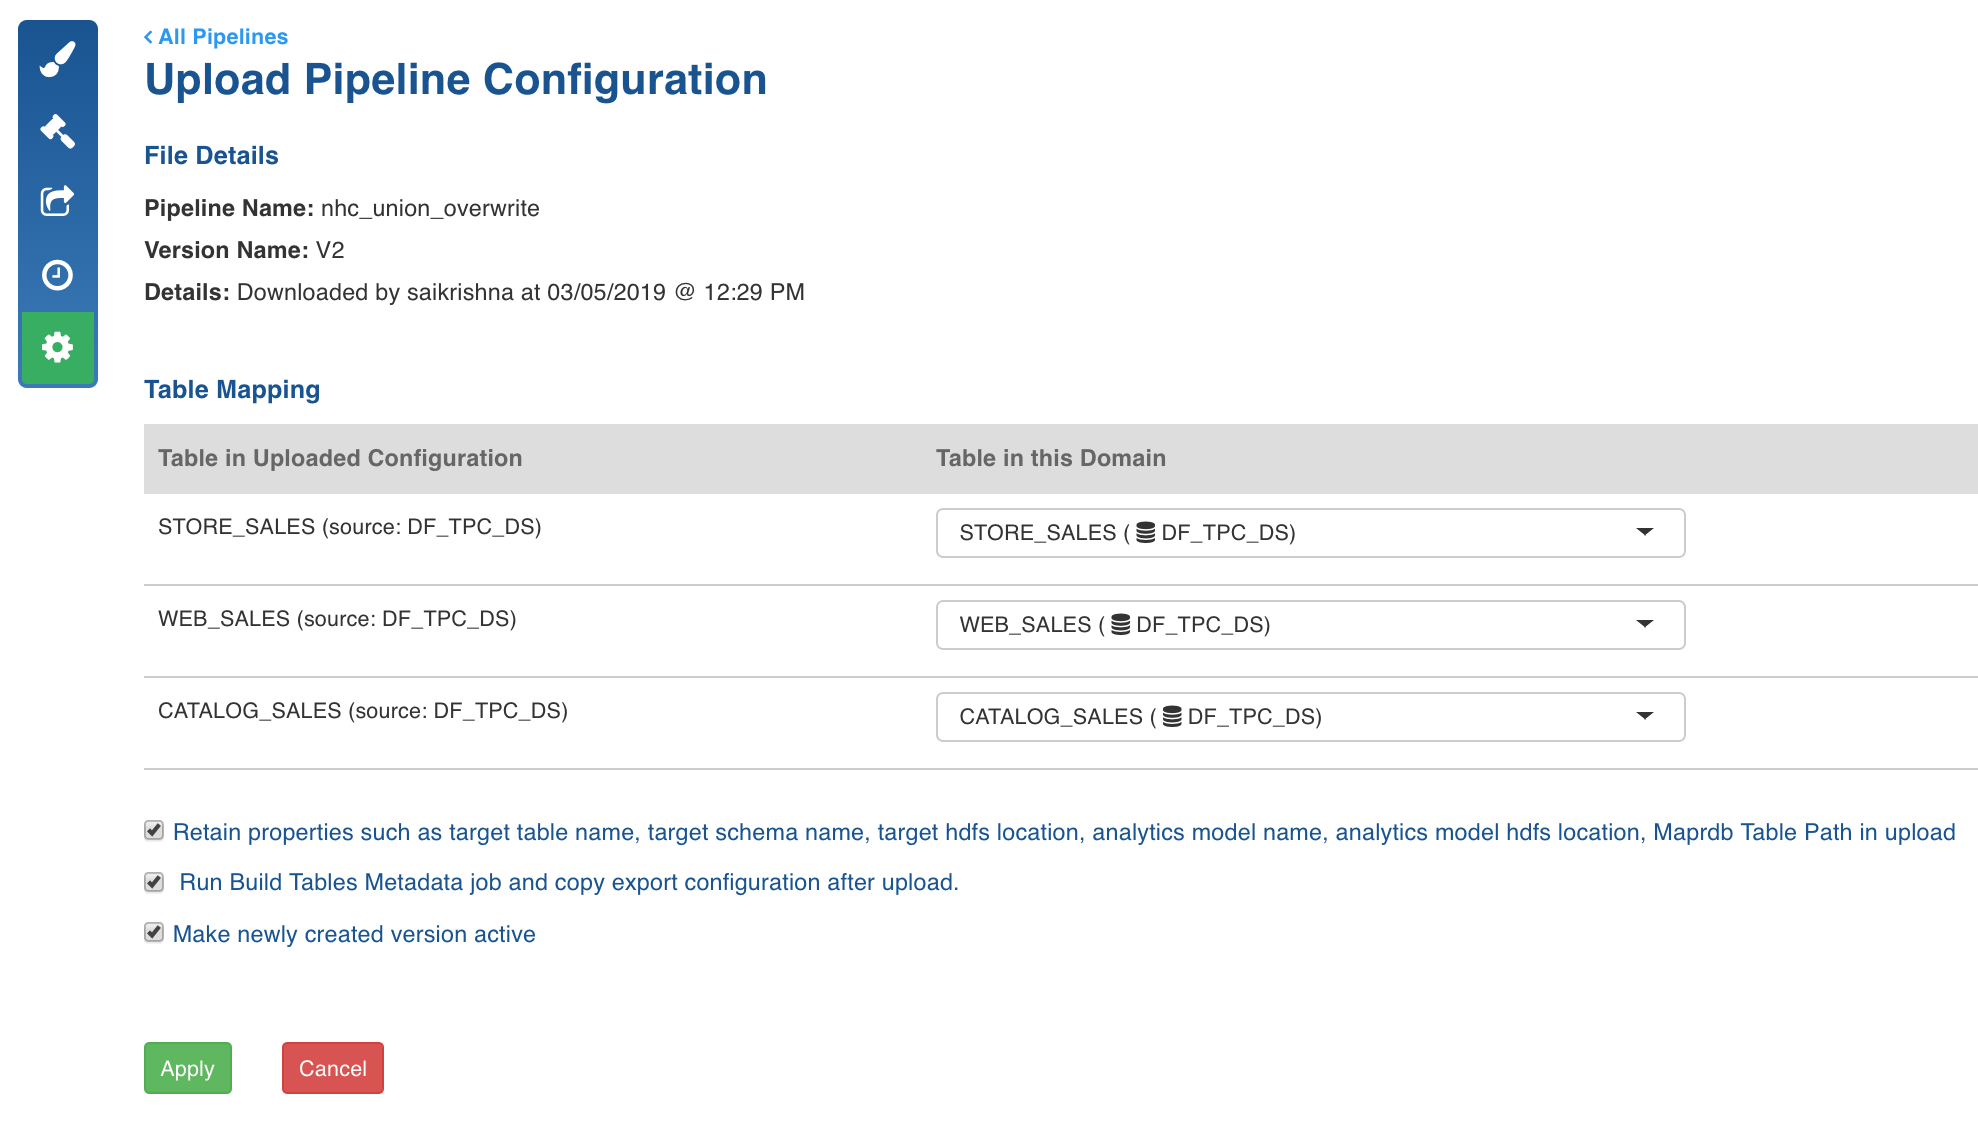
- The Import Configuration for Pipeline page is displayed with the table mapping between the imported file and the tables in the domain.
If a table mapping is not available, an error is displayed next to the table.
Perform the following:
1. Select the required table from Table in this Domain to map it with the table in the uploaded configuration.
Retain properties such as target table name, target schema name, target hdfs location, analytics model name, analytics model hdfs location in import: Enable or disable this option to retain or skip target configurations respectively during the pipeline configuration import.
Run Build Tables Metadata job and copy export configuration after upload.
Enable this option to build target metadata and copy export configuration for the pipeline targets.
Make newly created version active: Enable this option to set the newly created version as Active.
Click Import Configurations. The configurations are imported and a success message is displayed.